Hey Everyone,
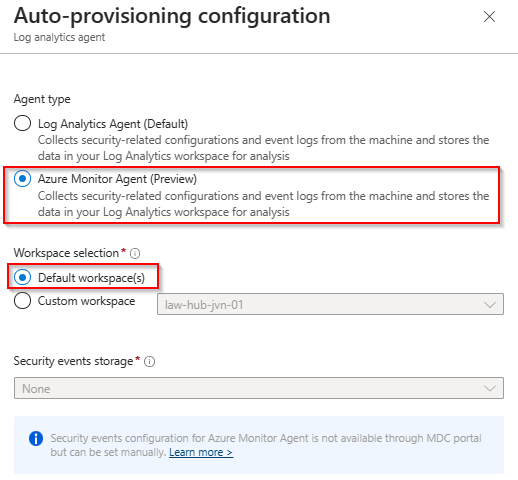
Welcome to my next blog series about AVD. In this series I’m going to focus on the monitoring part of AVD. You all know that you can configure monitoring of your AVD environment using the AVD Insights. Since the beginning this was done using the Log Analytics Workspace Agent. Since this agent is going end of life next year in August I’ll focus on the Azure Monitor agent which is currently still in preview. You can read more about it here.
What is needed to make the Azure Monitor Agent work?
There are a couple of things you need before Insights will work with this Agent.
- Data Collection rule
- Azure monitor Agent installed on the session hosts
- Virtual machine with managed identity enabled
Different ways of installing the agent
This series is split up in different parts. In each part I’m going to focus on a different way to roll out the Azure Monitor Agent
- Enabling Defender for cloud for your AVD subscription
- Using Azure policy to deploy the agent
- Use Nerdio to deploy the agent
- Use Terraform to deploy the agent and the data collection rule
In part 1 I’m going to focus on the first method using Defender for Cloud through the Azure portal.
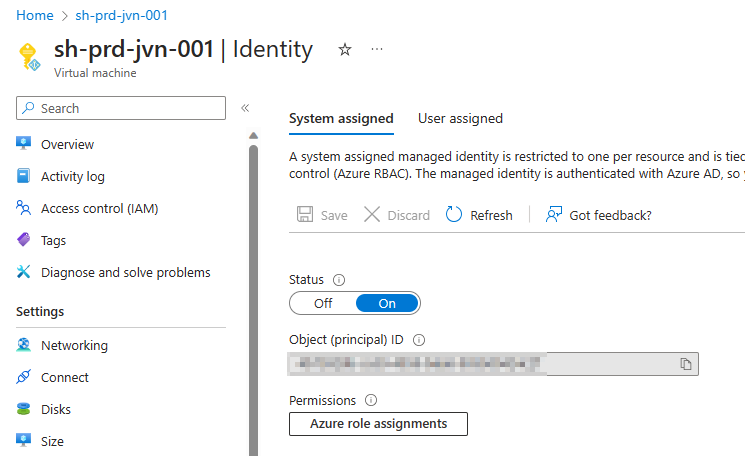
Managed identity
First of all you need to make sure that the managed identity on the session hosts is enabled. This can be either the system or user managed identity.
In the ideal world you deploy AVD on a separate subscription. This way you can enable the Defender for Cloud plan for virtual machines.
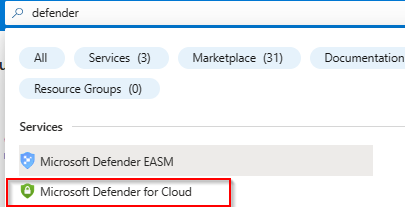
First we need to go to Defender for Cloud in the Azure portal. Type defender in the global search bar and select it.
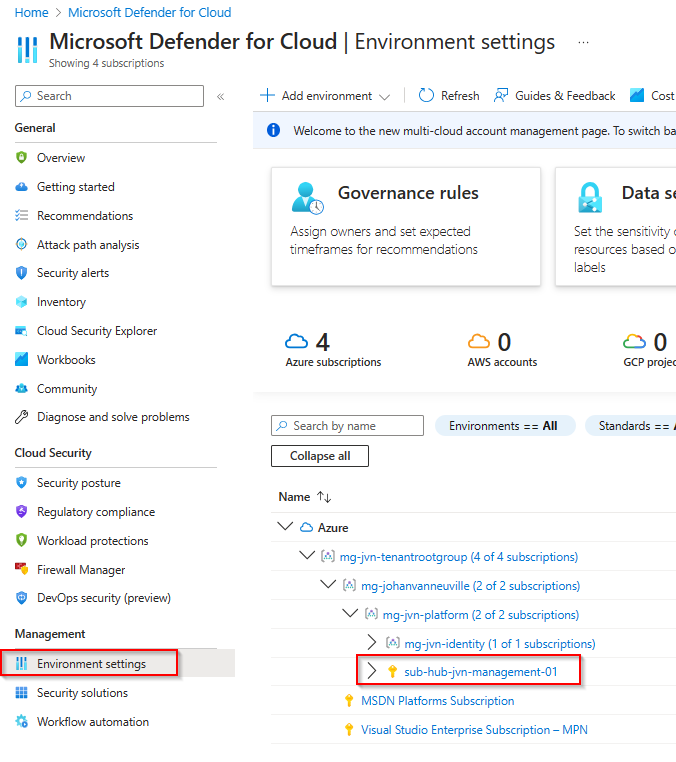
In the Defender for Cloud home page we select Environment Settings and select the correct subscription.
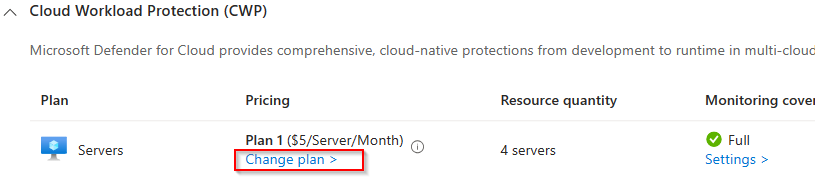
The next step is to activate the Servers plan and change the settings of this plan and put the slider to On.
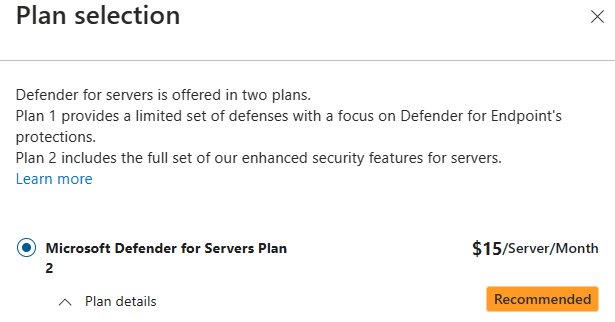
Important to know is that you have 2 server plans. For the deployment of the agent to work you need to activate plan 2.
Next we select plan 2 and click on save.
By default Defender for Cloud will create a new default log analytics workspace unless you customize the settings.

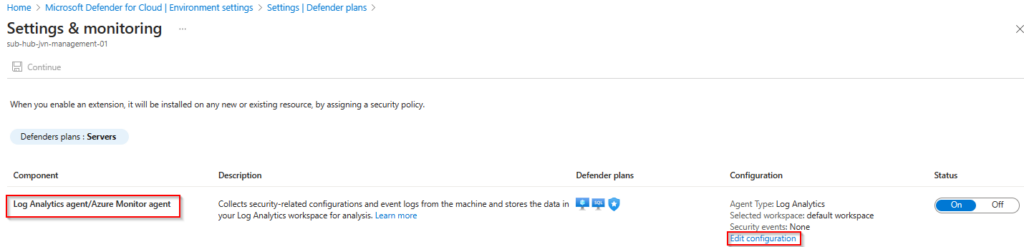
When you choose the default settings Defender for Cloud will create the Data Collection Rule automatically. It has a default Microsoft naming convention. More info about the data collection rule can be found here.

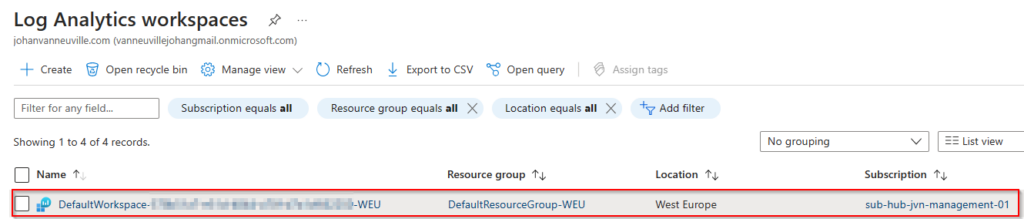
Next to the Data Collection Rule Microsoft also creates a new Log Analytics Workspace also with a default name with your subscription id in the name.
Use ustom Log Analytics Workspace
Now that we have seen the default method of installing the agent, let’s take a look at the custom deployment. You can specify a custom Log Aalytics workspace.
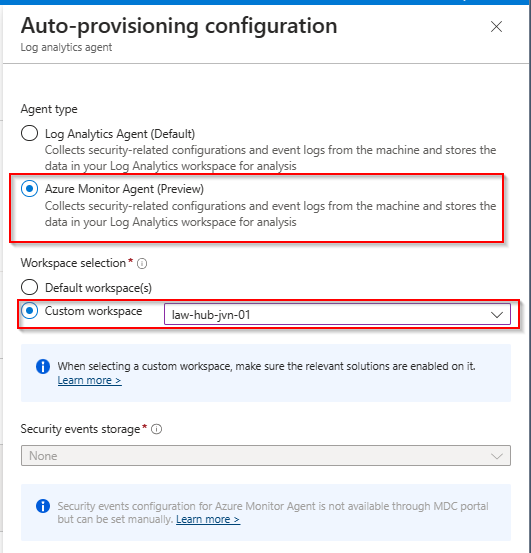
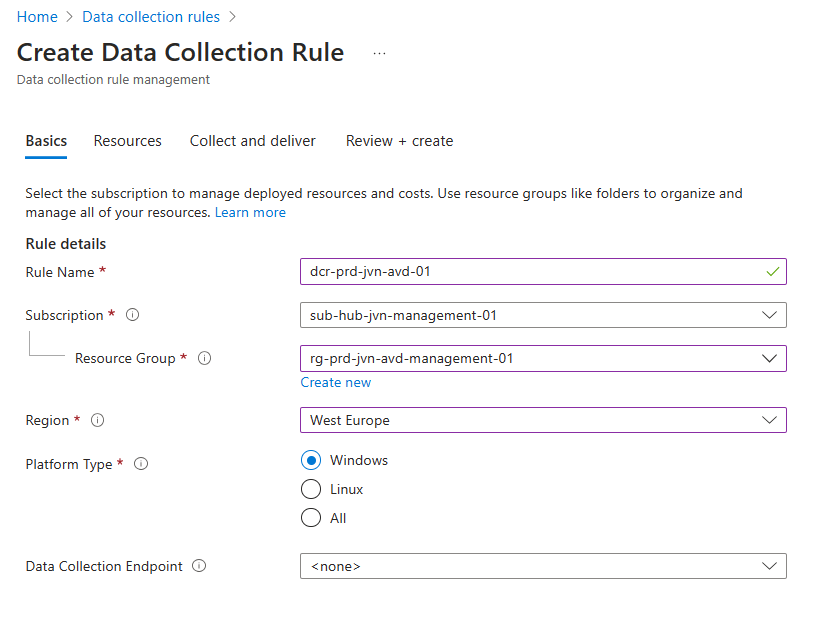
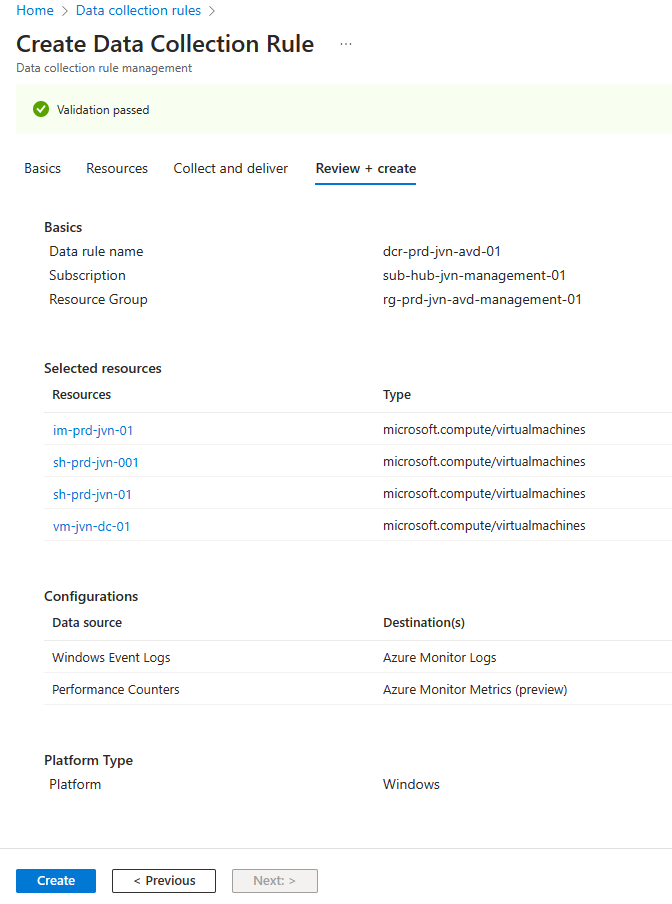
When you choose a custom Log Analytics Workspace you also need to create the Data Collection Rule. Since I’m deploying AVD on a separate subscription, I’m also creating a DCR per subscription.
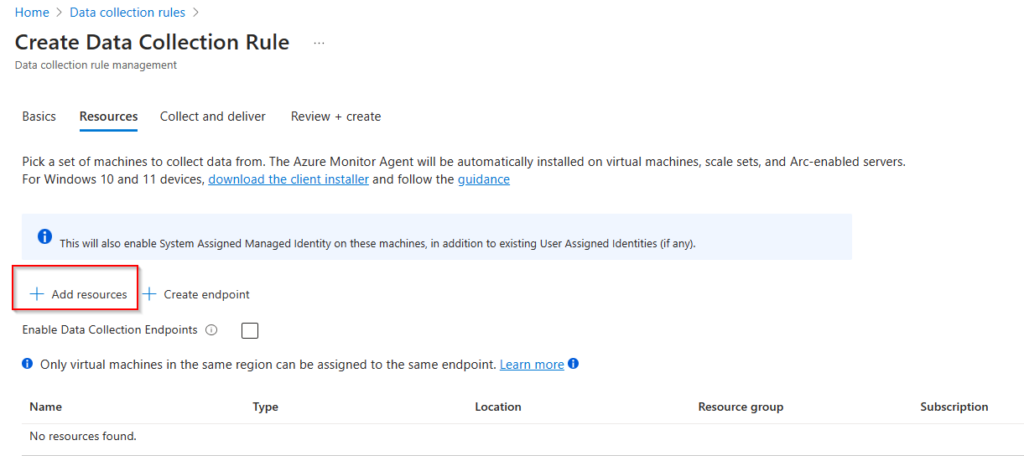
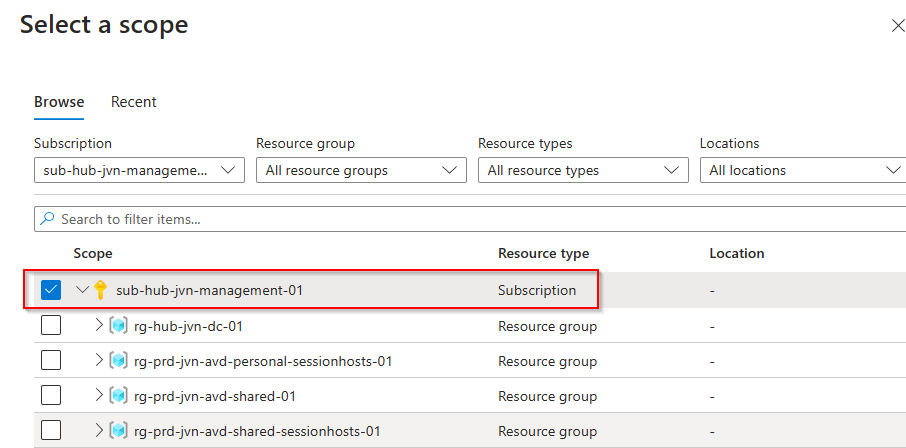
I need to add my resources and in this case I’m adding the entire subscription. This way every time a new host is deployed it will get the agent.
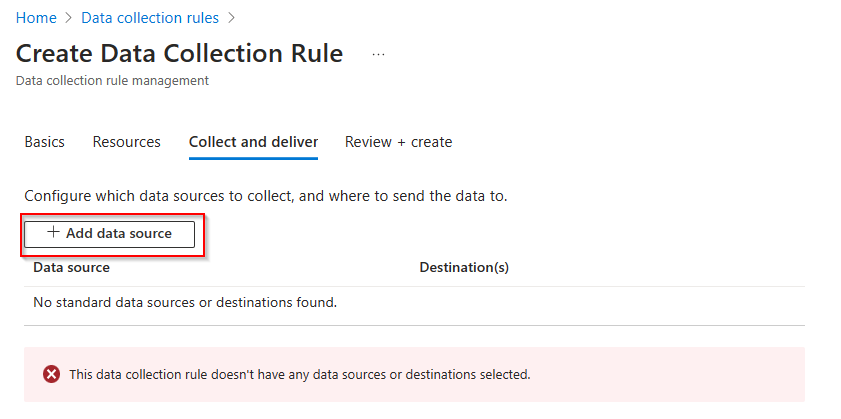
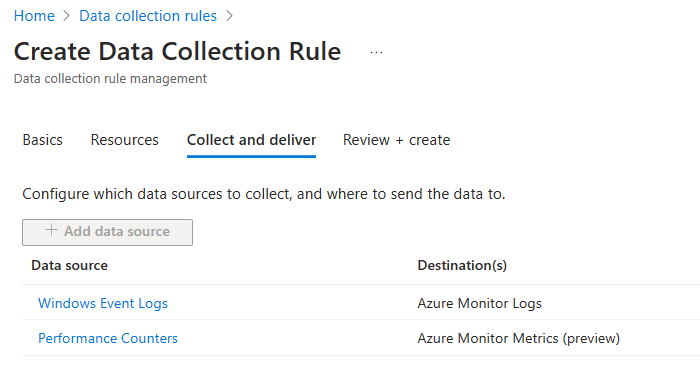
The next step is saying to the rule what type of data it needs to collect.
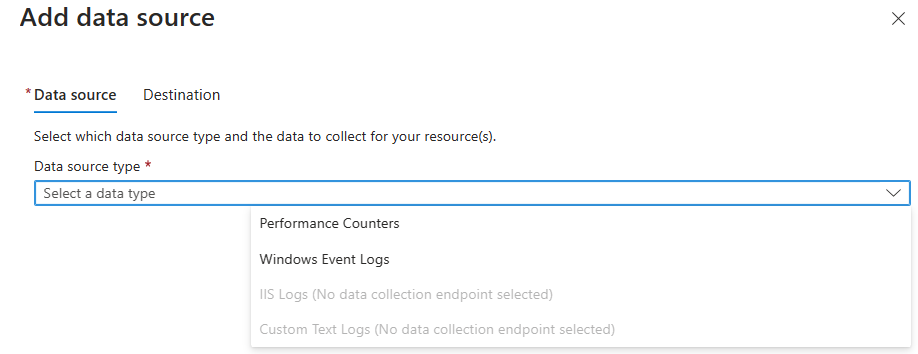
There are 2 kind of types. Performance counters and Windows event logs.
For the performance counters, all the settings are selected by default.
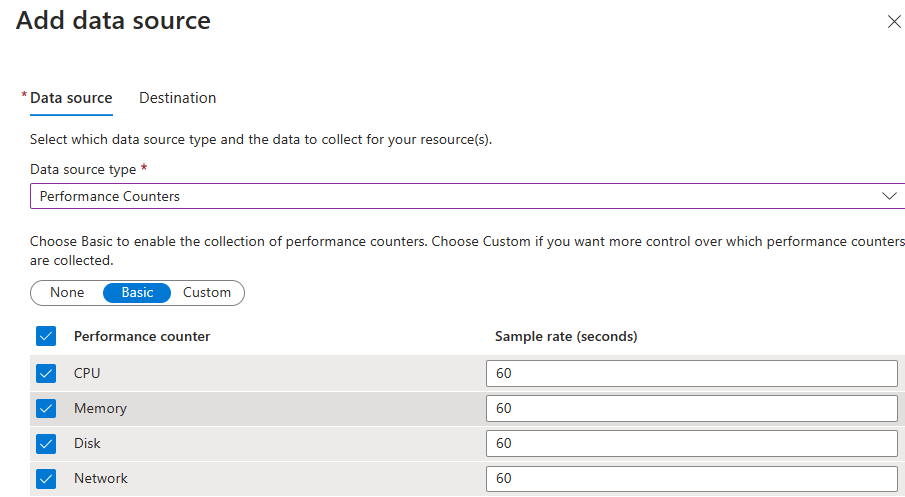
We need to select the destination for these counters.
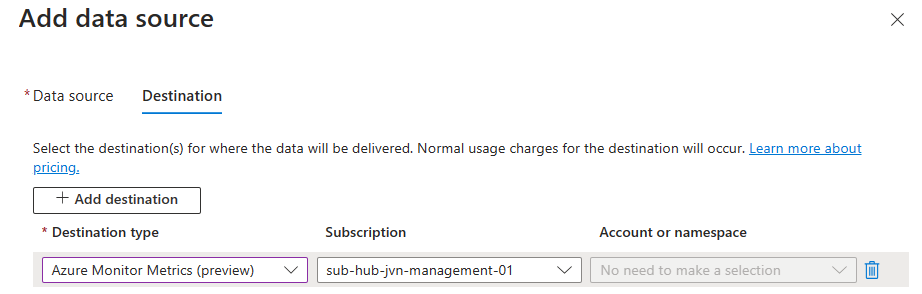
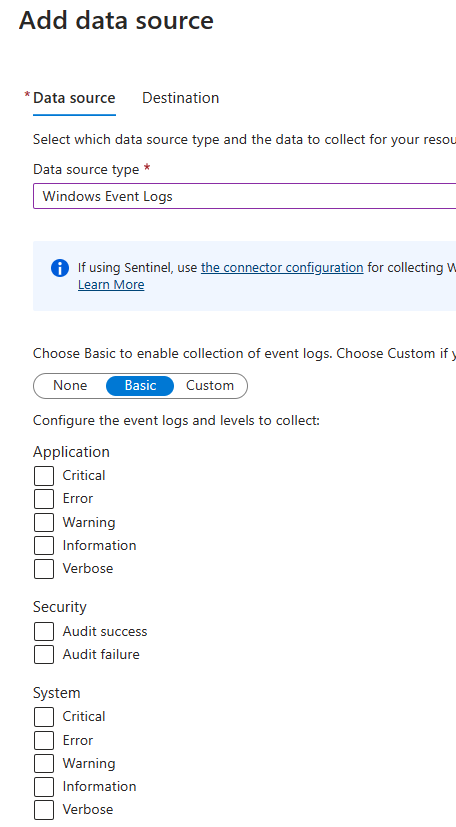
For the Windows event logs, you have to select the ones you want to collect.
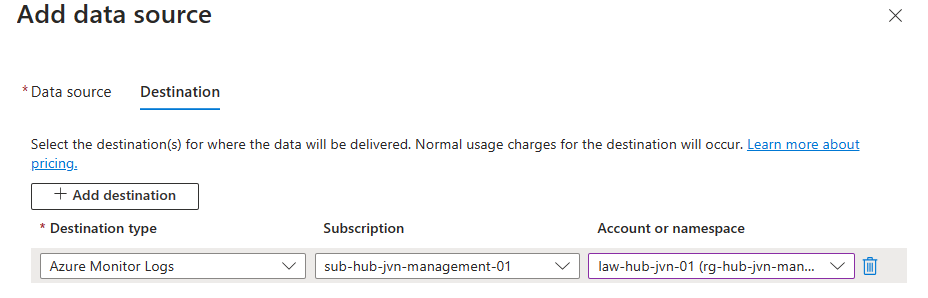
Next you add the destination. In this case my own Log Analytics Workspace.
Now that we have both options configured we can create the DCR.
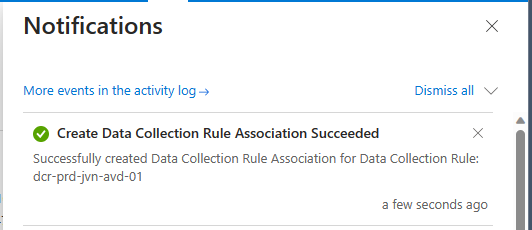
When Azure creates the rule it will also automatically create the rule association.
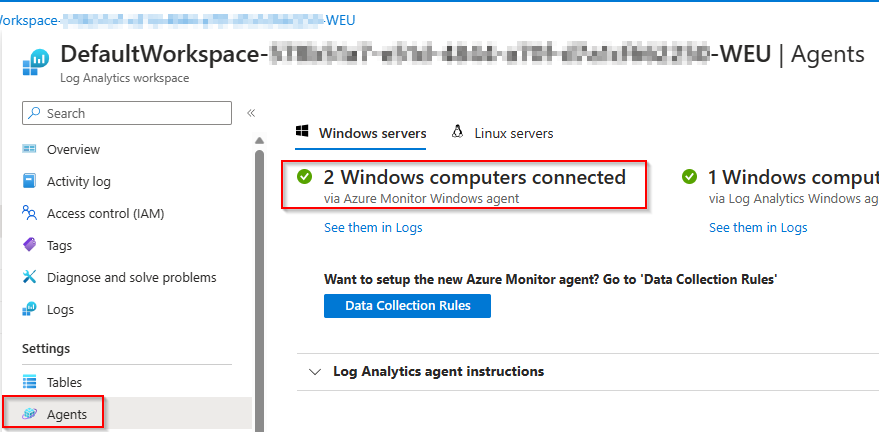
How to check the link between the workspace and computer?
You can easily check which devices are connected. Search for your Log Anlytics Workspace that you are using and select Agents. You will see it’s devided in 2 sections. Computers connected with the old and the new agent.
With both the DCR and agent installed we are ready to start monitoring the AVD hosts. In part 2 I’m also going to focus on the Defender for Cloud method but automated with Terraform.
In case you have any question about part 1, feel free to contact me on my socials. See you with Part 2.
Hi Johan,
Great blog, curious, how would you go about doing this via Azure Policy? I am keen to automate the entire process of enroling into monitoring after session hosts have been deployed.
Thanks!
Hi Alex, I’m currently writing a blog about this process. I plan to release it in the coming weeks.
Hi Johan,
Hope you’re well.
Curious to hear if you’ve managed to automate this via an azure policy yet?
many thanks
Alex.
Hi Alex, I released that blog yesterday. I didn’t had the time yet because of the book that I’m writing.