Hi everyone,
Welcome to another blog post about Azure Virtual Desktop. A couple of months ago, I did a blog post about the new version of App Attach. I already showed how App Attach works in the Azure portal in a previous blog post. You can read it here.
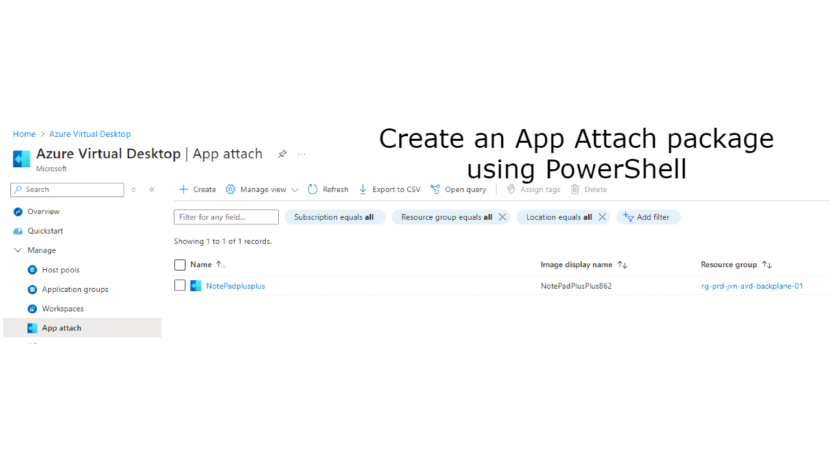
Of course, a lot of organizations want to automate App Attach and not use the Azure portal for this. In this blog post I’ll show you how to create an App attach package using PowerShell.
There are a couple of prerequisites to have before beginning creating App Attach packages:
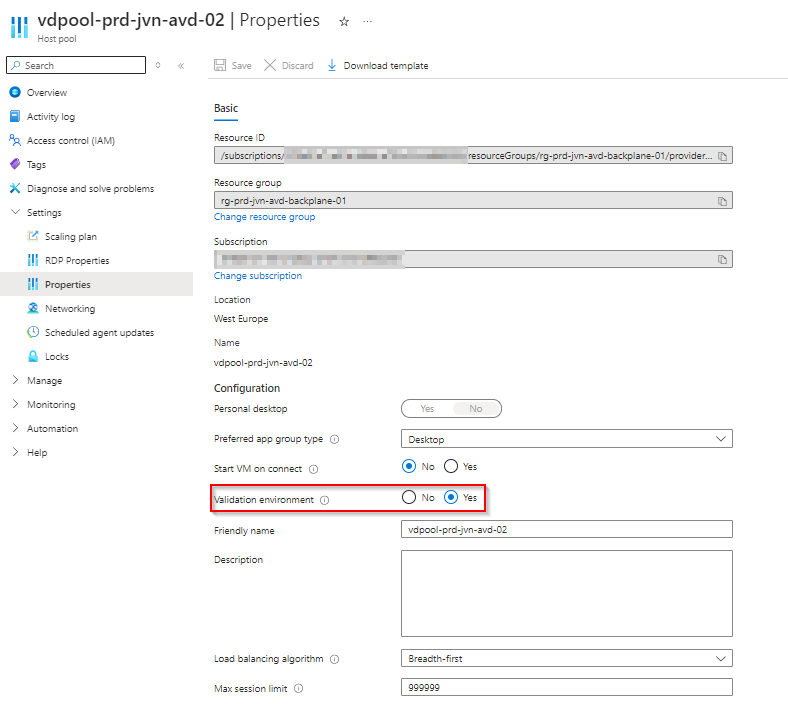
- host pool configured in validation environment
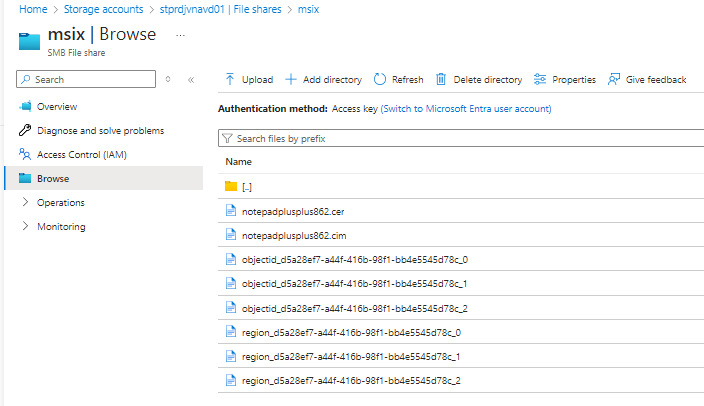
- File share with App Attach packages > in this case Notepad++ in CIM format
- the Az.DesktopVirtualization module installed
- The certificate used to package the App Attach packages installed on the session hosts
- Access for the session hosts on the file share
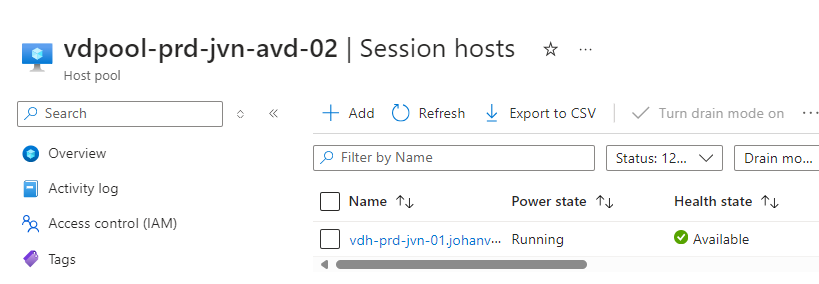
- At least 1 running session host in the host pool
Now that we have the prerequisites in place, it’s time to create the packages. The first part are the parameters from the host pool and the package. This is to check if the host can extract the content of the package. If the host can’t access the file share or the package can be extracted you will see it in the error message.
$parameters = @{
    HostPoolName = "vdpool-prd-jvn-avd-02"
    ResourceGroupName = "rg-prd-jvn-avd-backplane-01"
    Path = "\\stprdjvnavd01.file.core.windows.net\msix\Notepad++\8.6.2\notepadplusplus862.cim"
}

$app = Import-AzWvdAppAttachPackageInfo @parameters

Now let’s take a look at the parameters that are needed to create the application itself.
$parameters = @{
Name = "NotePadplusplus"
Resourcegroupname = "rg-prd-jvn-avd-backplane-01"
Location = "west europe"
FailHealthCheckOnStagingFailure = "NeedsAssistance"
ImageIsRegularRegistration = $false
ImageDisplayName = "NotePadPlusPlus862"
ImageIsActive = $true
}
#notepad
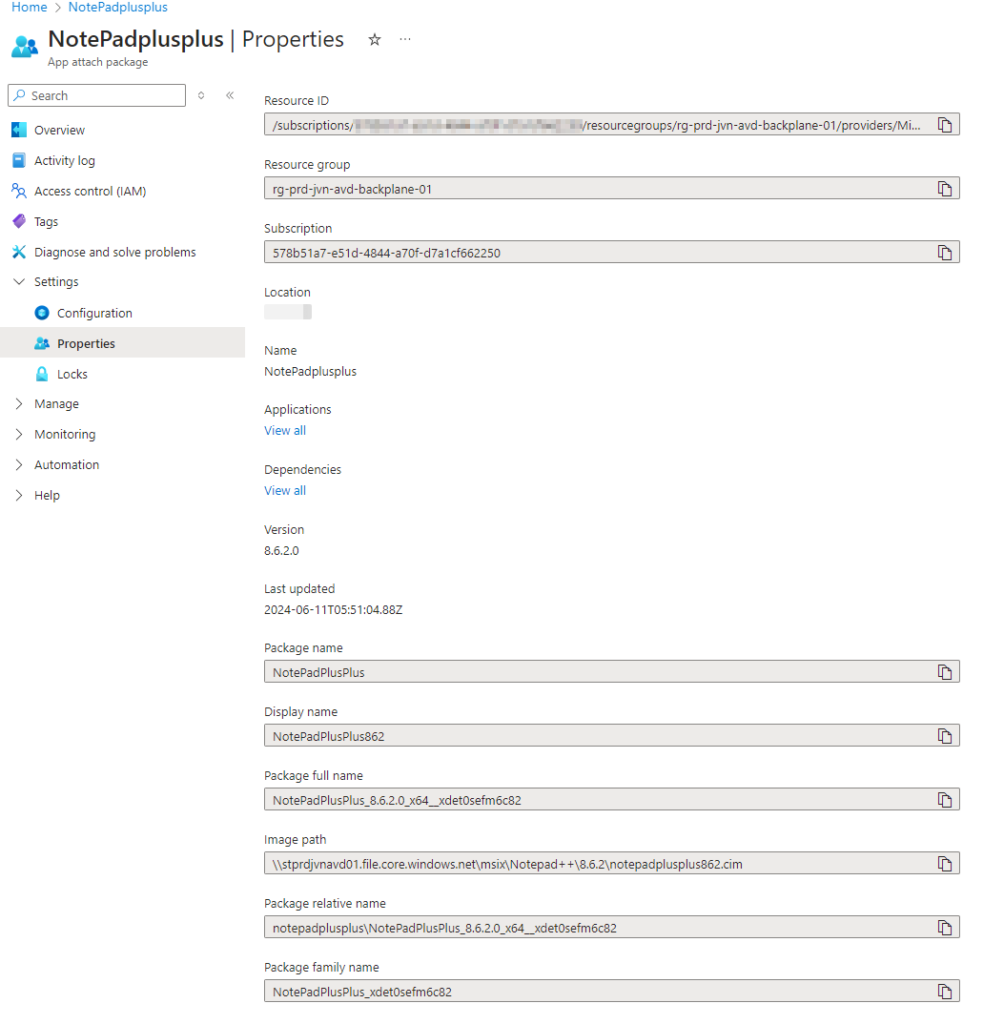
New-AzWvdAppAttachPackage -AppAttachPackage $app @parameters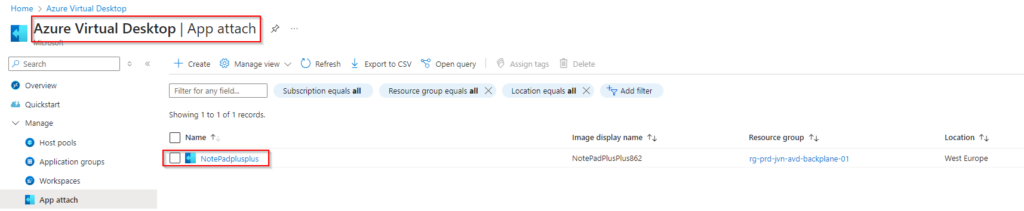
When selecting the application we can see the settings that we configured in the Powershell code like the state, health check and registration state.

As you can see it’s really easy to create App Attach packages using PowerShell. In a next blog post I’ll show you how to update an existing package.
I hope this blog post can help you deploy App Attach packages in an automated way. Until next time.
1 thought on “Create an App Attach package using PowerShell”