Hi everybody!
Welcome to another blog post about AVD and in combination with Nerdio NME. To work with AVD we use FSLogix for the profile containers. These can be stored on different kind of storage. The following are popular choices:
- Azure file share
- Azure NetApp file share
In this blog post I’m going to show how you can configure the auto scale features from both types of storage. Autoscaling is very important because you can save a lot of money with this.
Configure Azure Files Autoscale
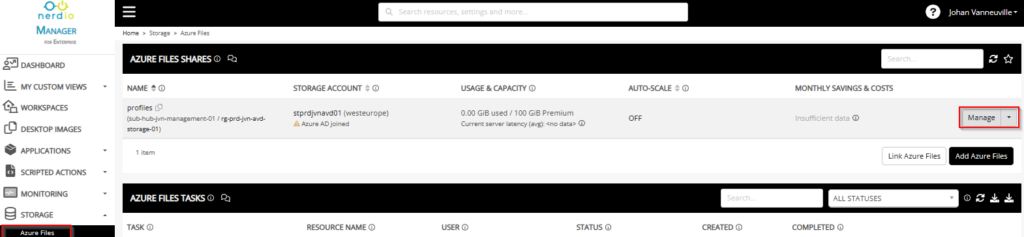
The first option I’ll show is how to configure the scaling for Azure files.
Got to storage in the Nerdio NME portal and select Azure files. Select the arrow next to manage and configure autoscale.
Now we are presented with 2 options for the Quota unit. We can use Relative % and Absolute GB. For this blog I’m using Absolute GB.
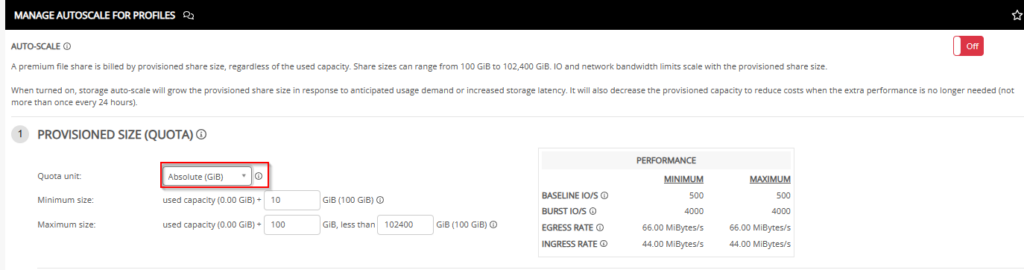
Here we can define the minimum size of the file share and also with how many GB the storage can be increased to a maximum size. The scale in of the storage happens once every 24 hours.
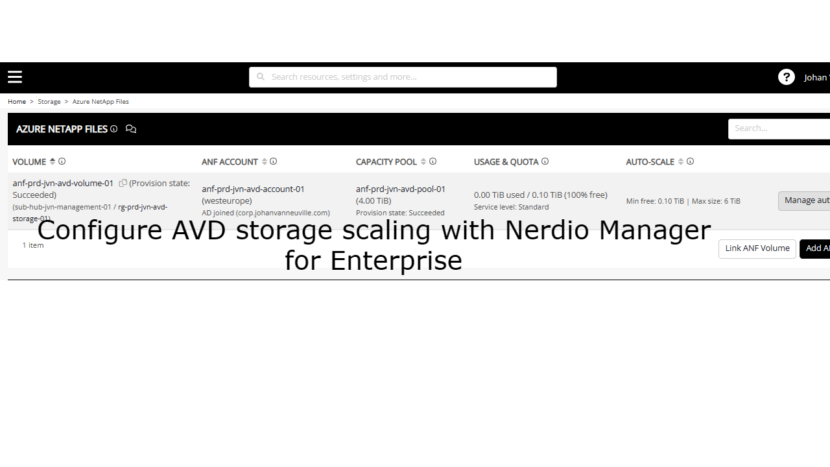
Configure Azure NetApp scaling
To access this scaling feature go to Storage in the left menu and select Azure Net App Files and click on Manage Autoscale.
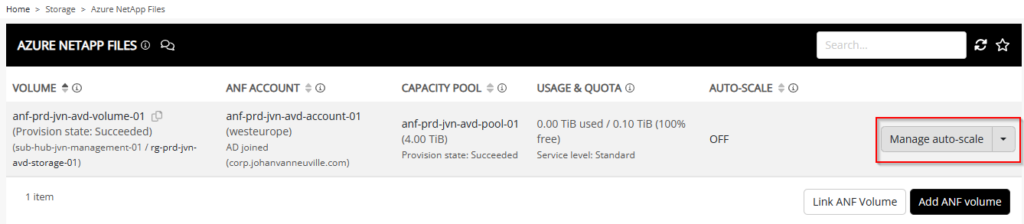
We are presented with the default scaling menu. Here you have 3 scaling options. In this blog post I’m going to focus on the Provisioned Size option.
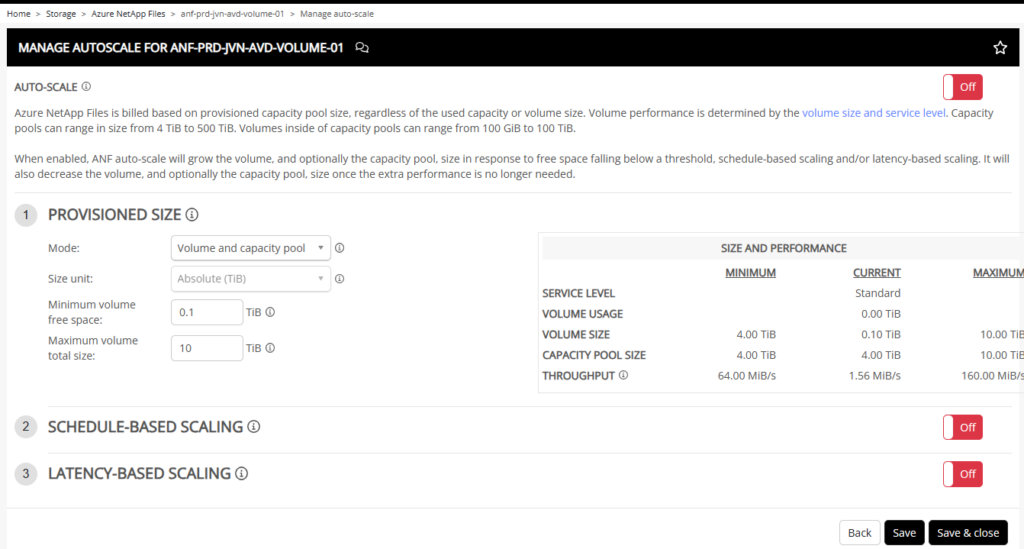
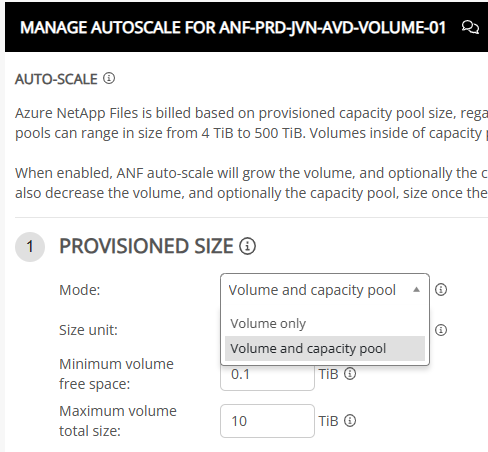
You can configure 2 scaling options with Provisioning size.
- Volume and capacity pool
- Volume only
Lets take a look at what both options mean. With ANF you create a Capacity pool and within that pool you can create volumes.
The autoscale feature in Nerdio gives us 2 options.
- scale Volume only
- scale Volume and Capacity Pool
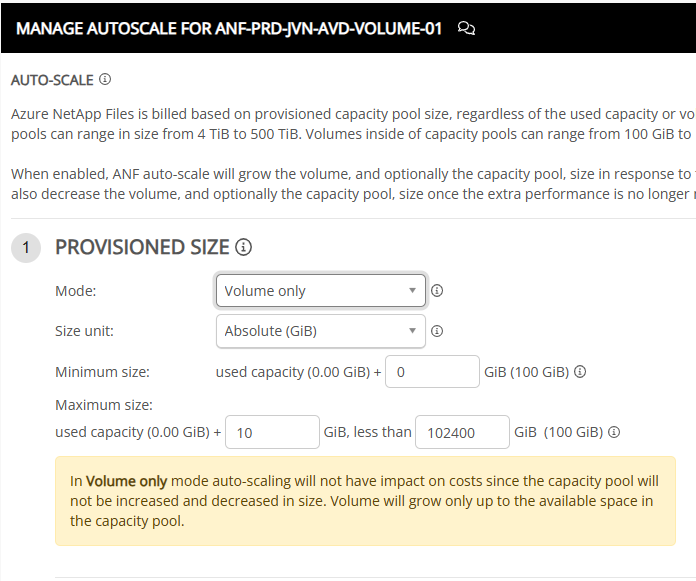
Lets take a look at the Volume only option. As the below screenshot says, this option won’t do much for cost saving. It will not scale your capacity pool. This option will only scale the volume and have a max size of the capacity pool.
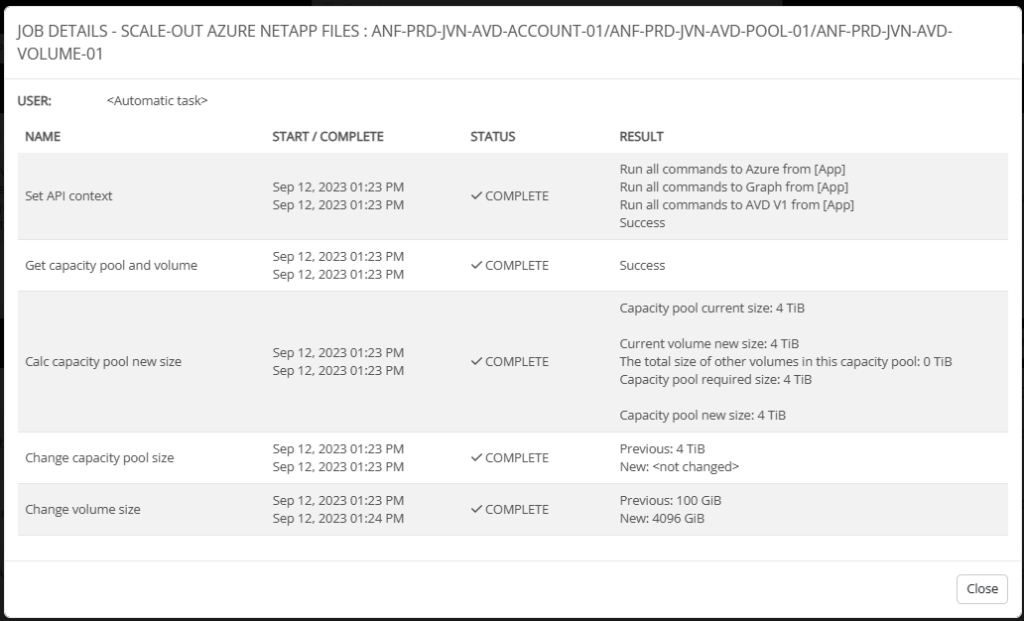
The second option is the one you want to use when trying to save costs. With the second option the capacity pool’s capacity will be increased with increments of 1TB. The volume with take up the entire capacity pool.
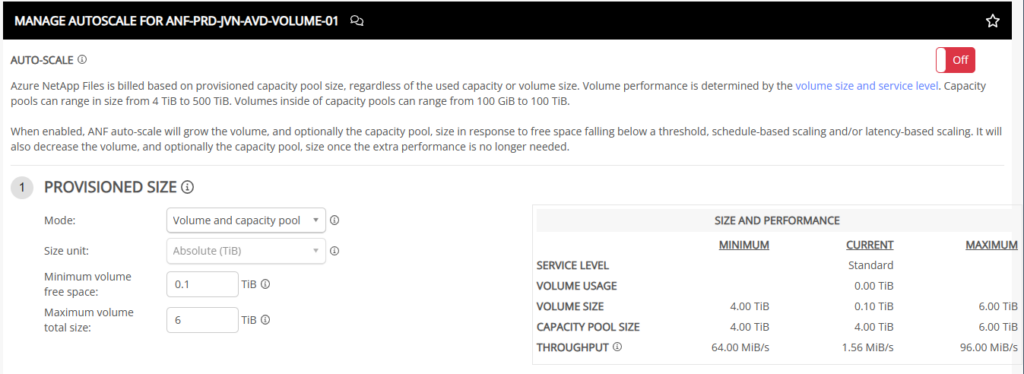
When activated the scaling you will see the same as below example. In this example you can see that the volume size was adjusted from 100GB to the entire capacity of the pool.
There you go, an overview of the different scaling methods you can use within Nerdio NME for FSLogix profiles. No matter what storage solution you want to use, you can limit your costs.
I hope you find this post helpful and in case you have any questions, feel free to reach out.
Until next time.