
Ever since Azure Virtual Desktop or “WVD” was launched Nerdio was there to help us manage it.
Nerdio has 2 flavours that you can use
- Nerdio Manager for Enterprise
- Nerdio Manager for MSP
Since I wanted to test Nerdio on my own tenant I decided to write this blog about the initial setup of Nerdio for Enterprise.
Initial Setup
I did some prep work in my tenant for Nerdio. I created a separate vnet for Nerdio and peered it with my Hub vnet. After this step I go to the azure Marketplace and look for Nerdio
When i click Create I’m being asked to choose a resource group or create a new one. In this case I created a new RG for Nerdio and start the deployment in West Europe.
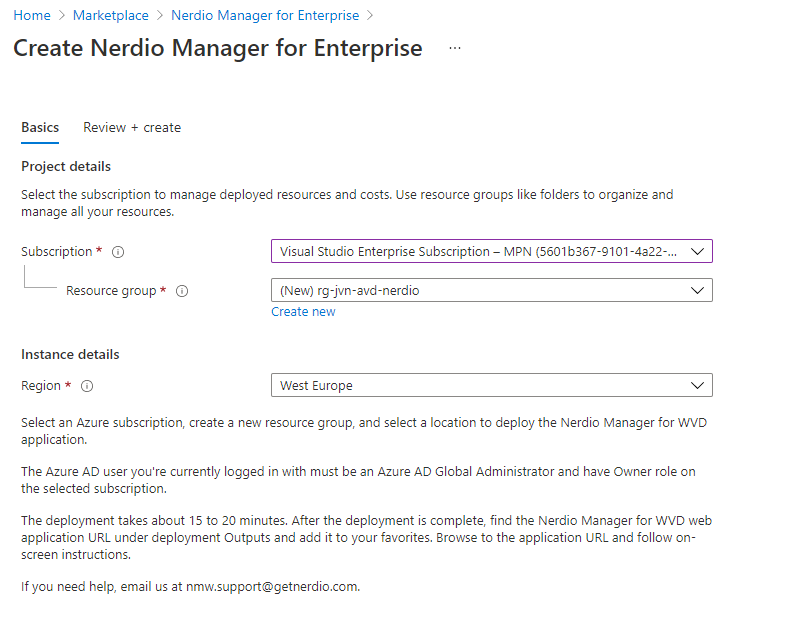
The initial deployment from the marketplace took about 15 minutes.
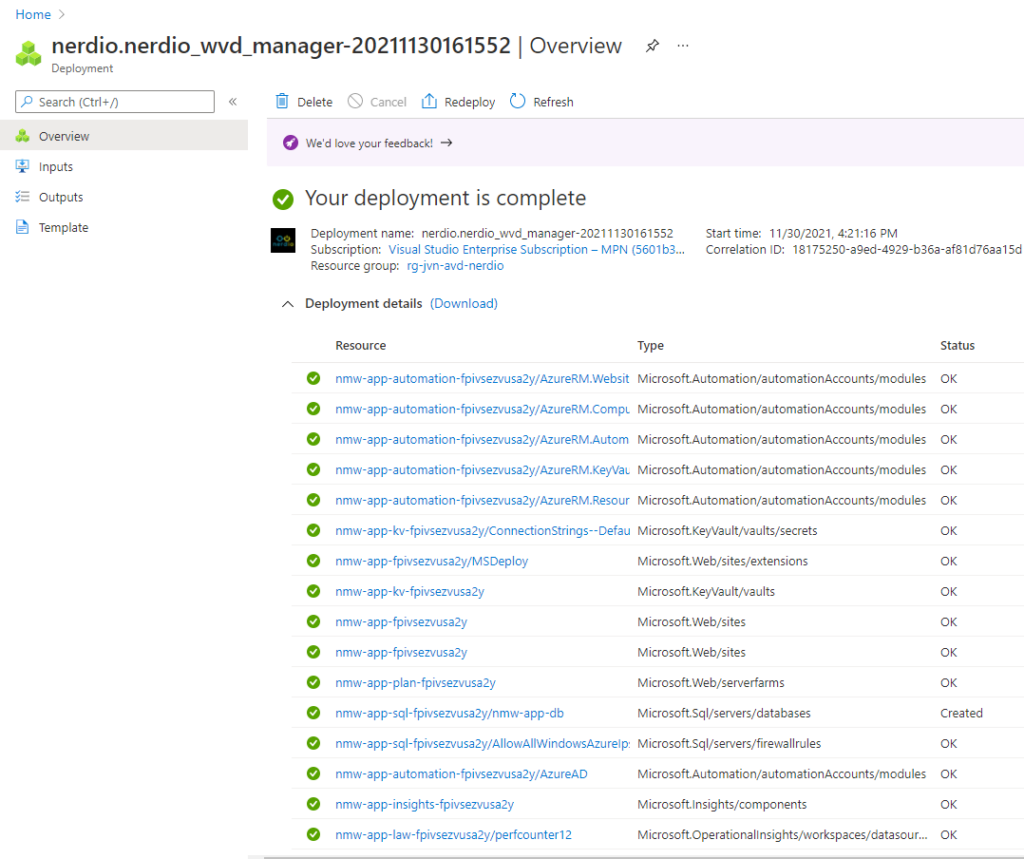
After the initial deployment from Nerdio you can see the following items inside the RG that we created.
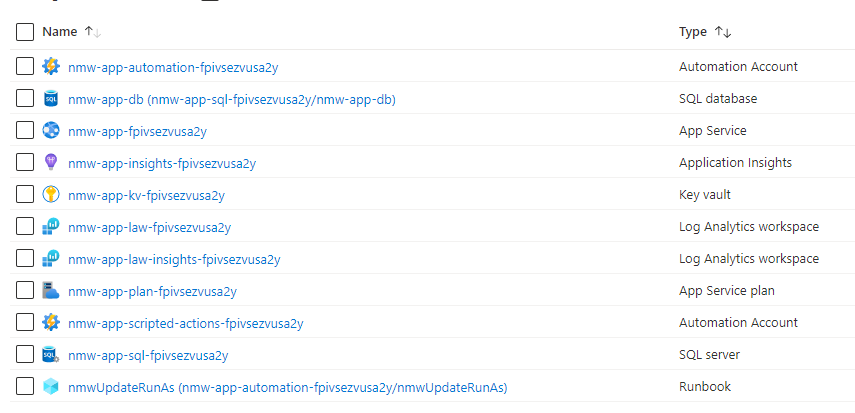
The next step in the Nerdio is to go to the App Service and go to the url that is mentioned here.
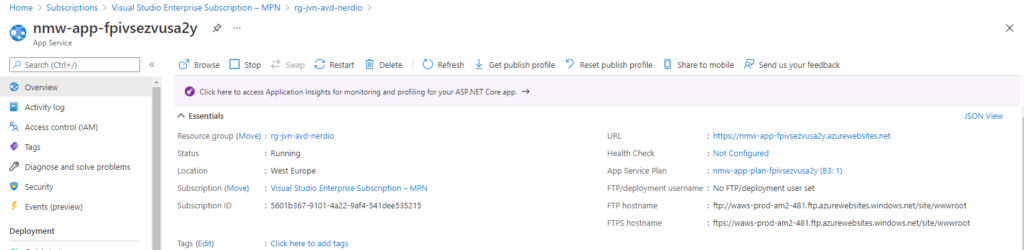
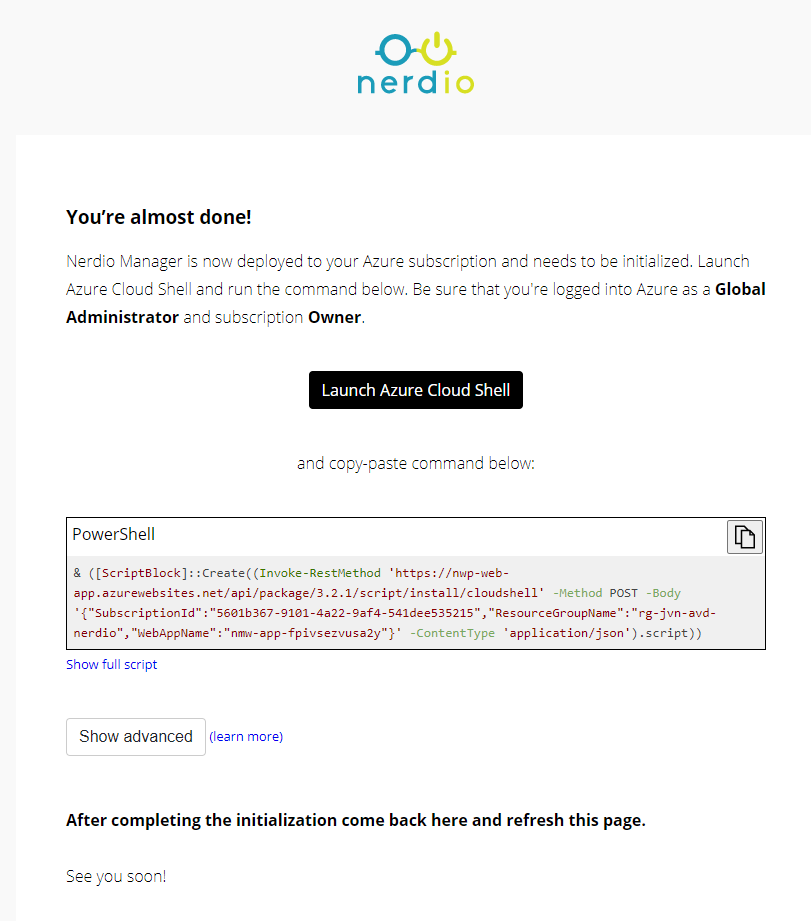
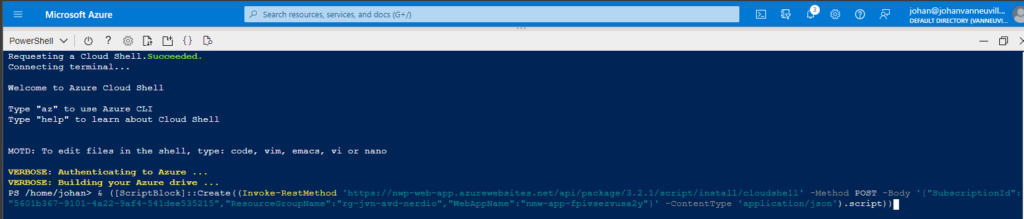
When we go to the url that is associated with the app service we get the following. The next step is to launch the Azure Cloud Shell and paste the code in there to start the process.
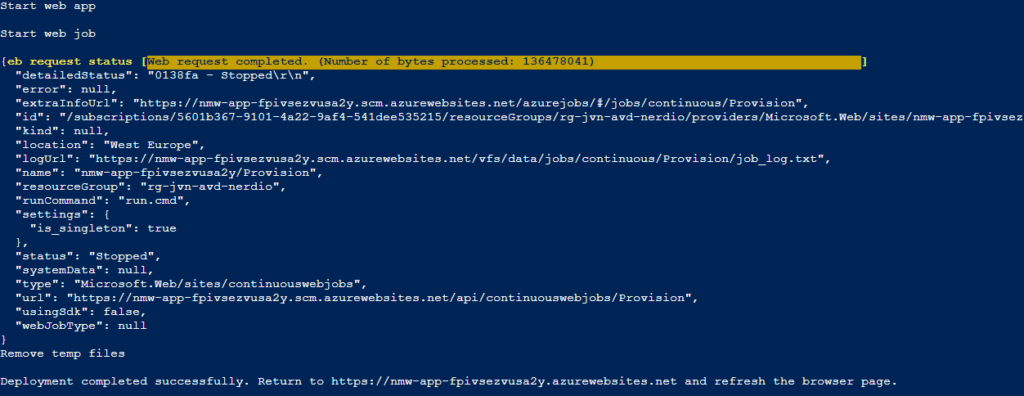
After the script completed you’ll be asked to go back to the webapp and refresh the page.
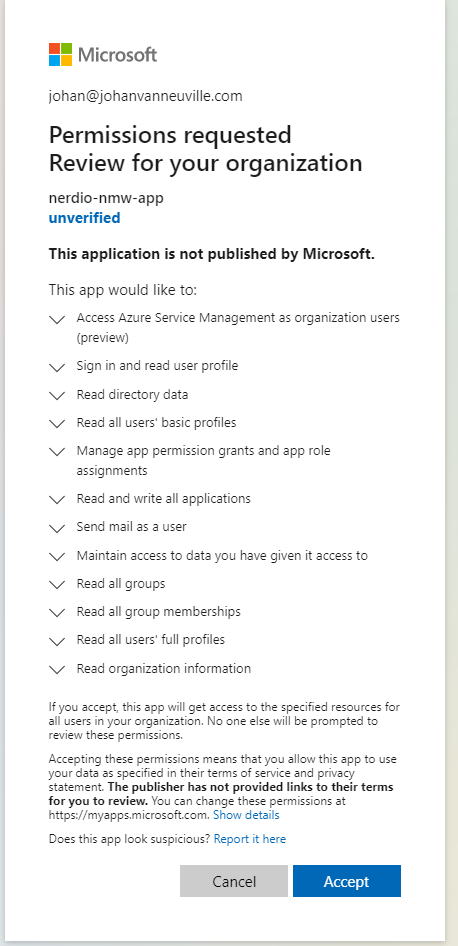
When you refresh the page you will get the following prompt
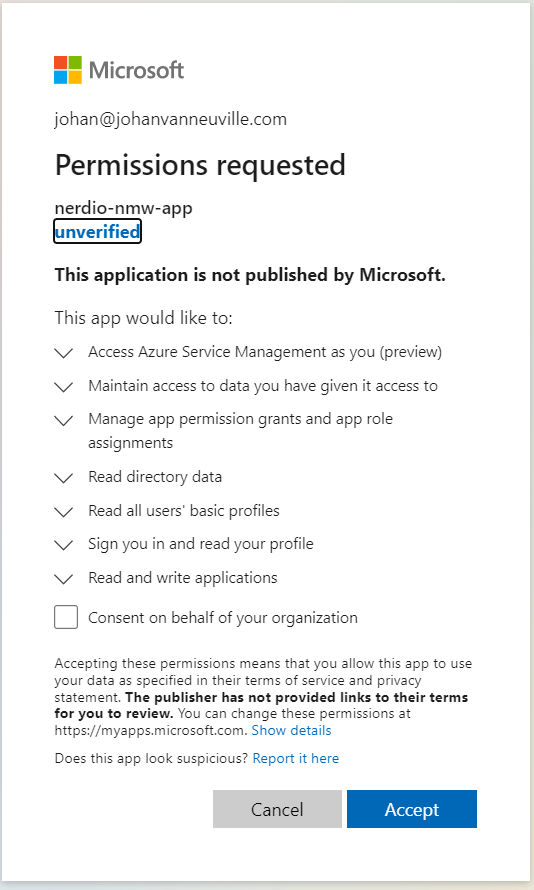
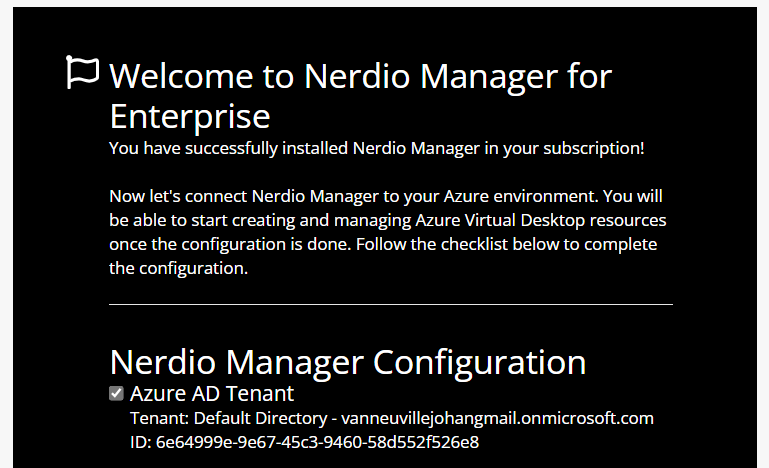
When you click Accept the next section will load to finish the Nerdio configuration.
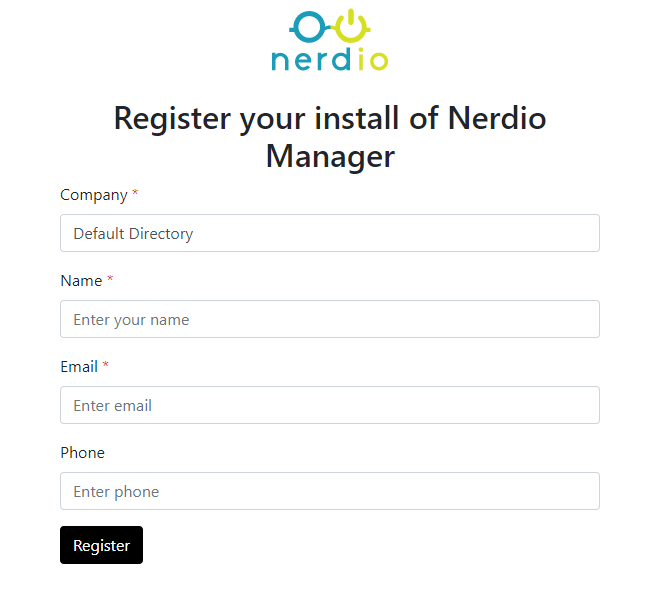
The first step is the registration.

Fill in all your details and click register
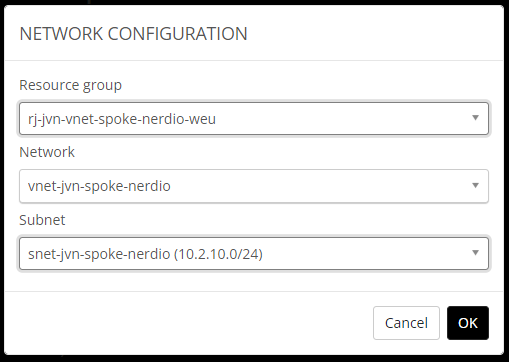
Next step is the Vnet.

I select the Vnet that I made for Nerdio.
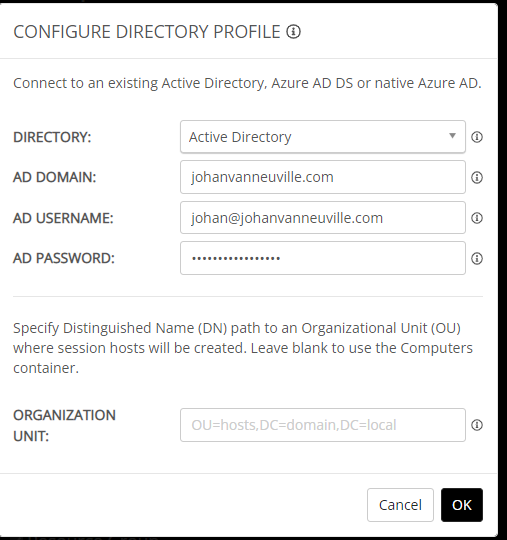
Next step is the directory. In my case I choose my ADDS domain. For this demo I leave the OU blank but you can choose a specific OU for the AVD session hosts.

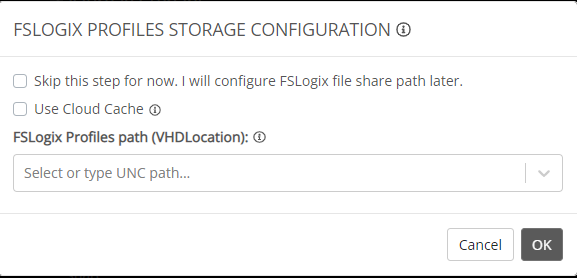
The next step to do it the AVD storage step. I ‘m going to skip this step for now.

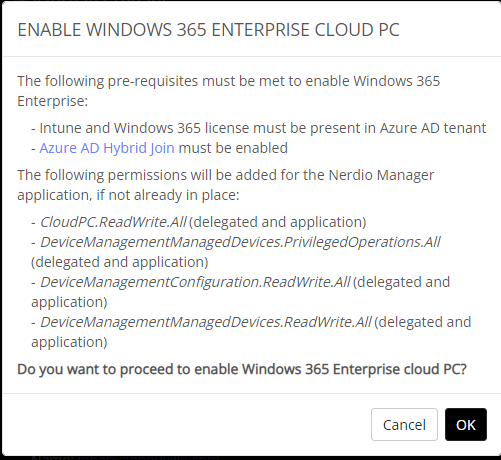
You can choose to enable Nerdio to manage Windows 365. You must meet with the following requirements if you want to do this.
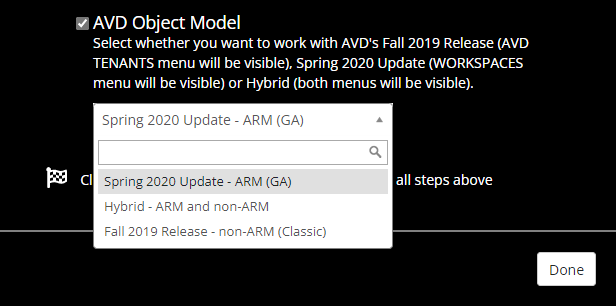
The final step of this process is to choose the AVD model. As you can see below you have 3 options. When you are finished click done.
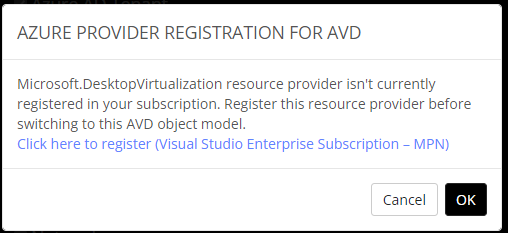
I was asked to register the Desktop Virtualisation provider.
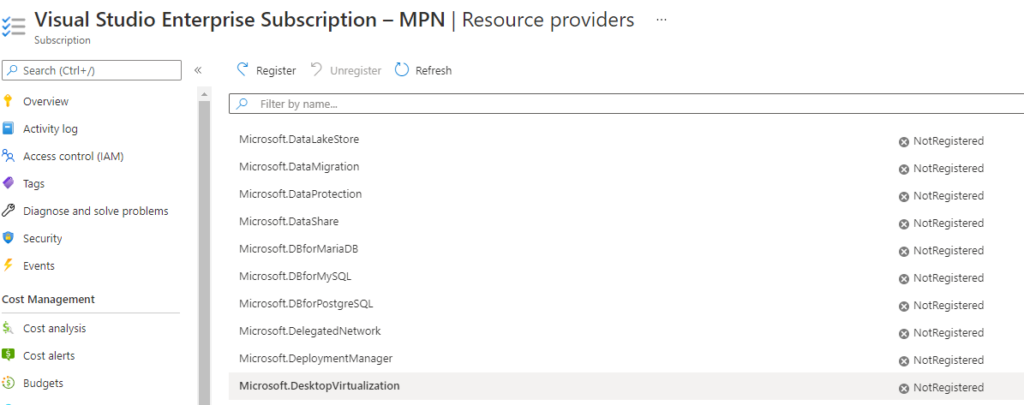
When you click on the name of your subscription a new windows opens and you can search for the provider and click register
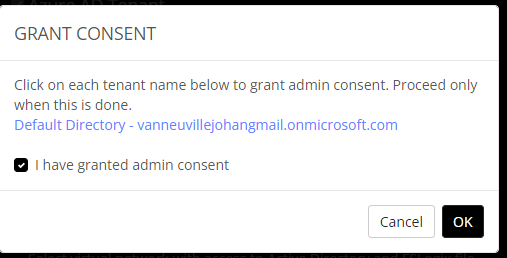
When the provider is registered and you click on done again the next popup appears to grant consent.
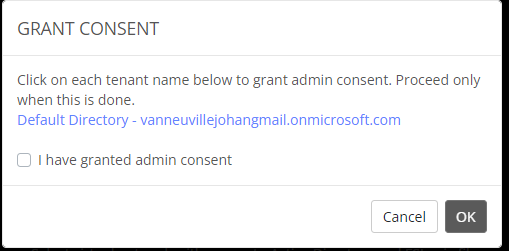
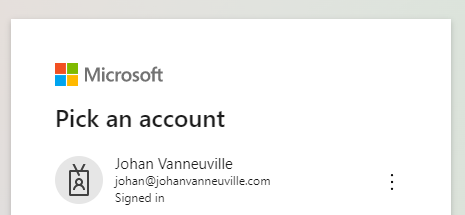
When clicking on the tenant name you’ll be asked to logon
After you gave consent go back to the page and click ok.
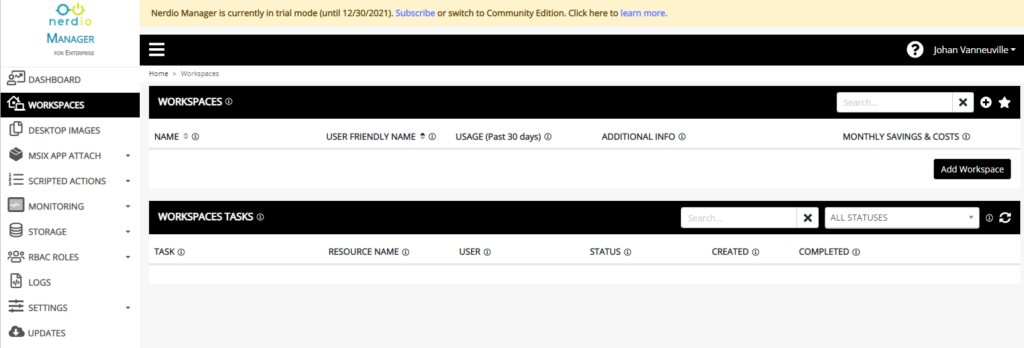
After this stap the Nerdio Manager will load. In my case I requested Nerdio Manager for Community. You can find all the info about this on this link
Scaling Nerdio
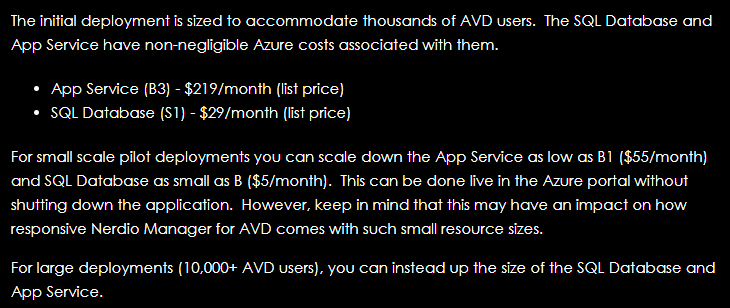
If you are using Nerdio like me with a limited budget you can downscale the App Service and the SQL database. These have been deployed to support more users than you need in a test environment.
The following info can be found on the Nerdio website. I changed this on my environment so save costs.
I hope this blogpost will help people to begin with Nerdio Manager for Enterprise.