This is my 2nd blogpost in my series of posts about Nerdio and Azure Virtual Desktop. In this part I’ll create a basic environment using Nerdio.
To start with I want to make sure that I have the basic components ready
- Activate AAD integration
- Create Azure Files storage
- Create a master image
- Create hostpool
Activate AAD integration
If we want to use the Azure AD Join feature also, we need to enable it first.
Go in the left blade and go to Settings and Integrations and click on Add
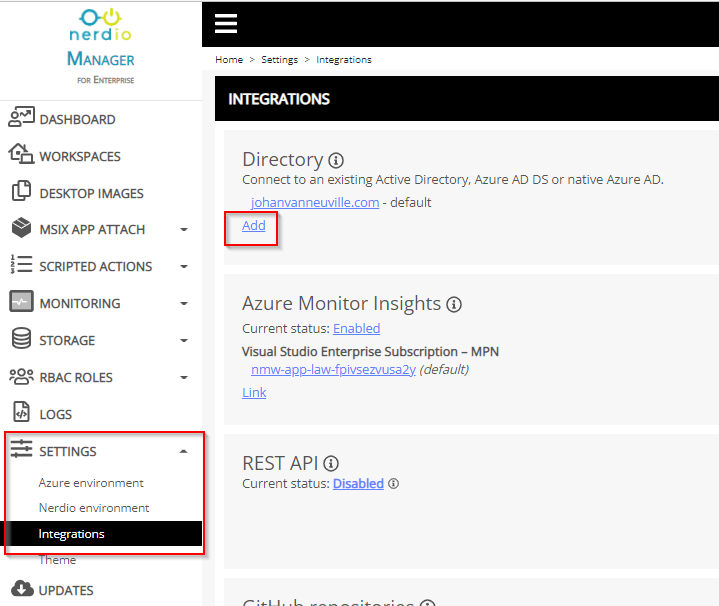
Select Azure Active Directory and don’t forget to activate the options to Enroll with Intune and click OK

Create Azure Files storage
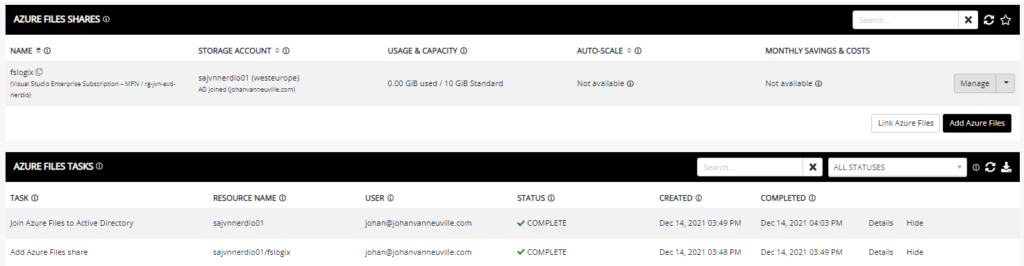
Because I didn’t create the storage for AVD during the initial setup, I will do it now. Remember that you don’t need the storage account for FSLogix if you only will use Personal Hostpools.
In the left blade go to Storage and in my case I select Azure Files
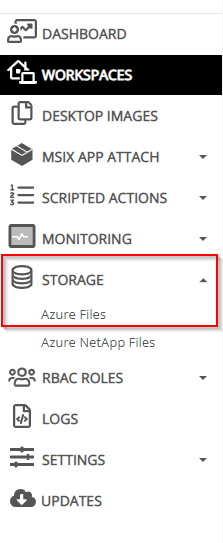
Next Select Azure Files

The next popup screen will appear where you have to enter all the needed info. The advanced settings are optional. I chose to change the sku of the vm. Also the Security group to give SMB share contributors right needs to exist in AAD. If you choose Premium performance you also have the option to turn on SMB Multichannel. On the Standard sku this isn’t supported.
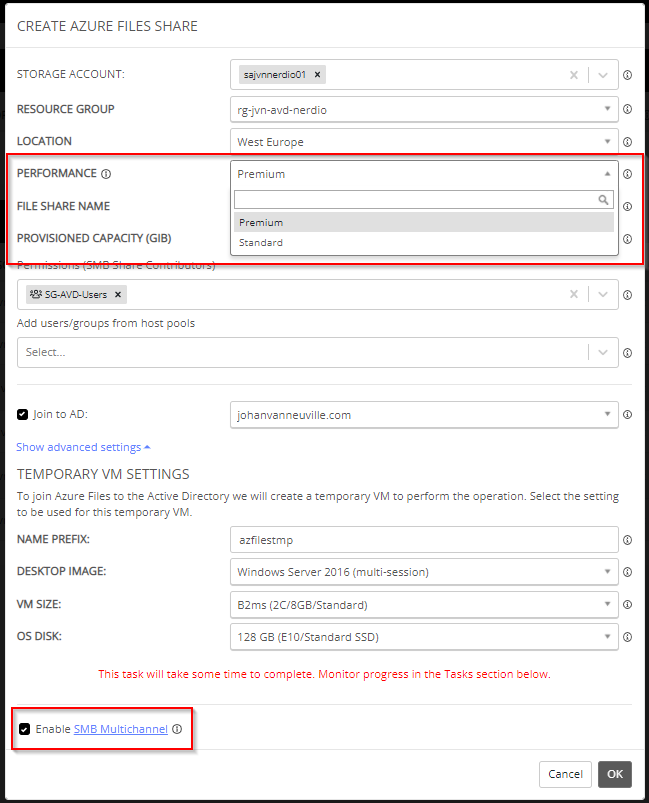
When you select OK you will be able to look at the progress of this task. After it has been created I changed the quota to save costs.
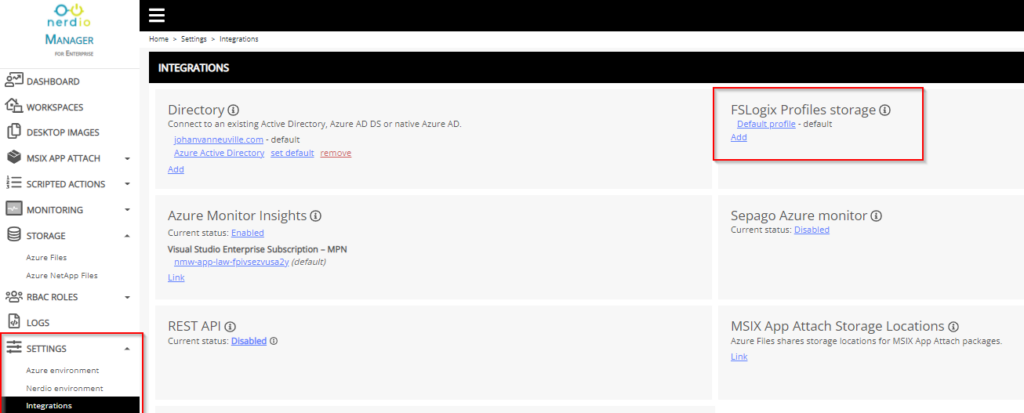
After you create the storage for the FSLogix profiles, you need to change the setting in the Integrations blade. In the left blade select Integrations and on the left click add
In the next screen you can select the file share you have created in the previous step. You can select to use Cloud Cache and enter multiple FSLogix locations.
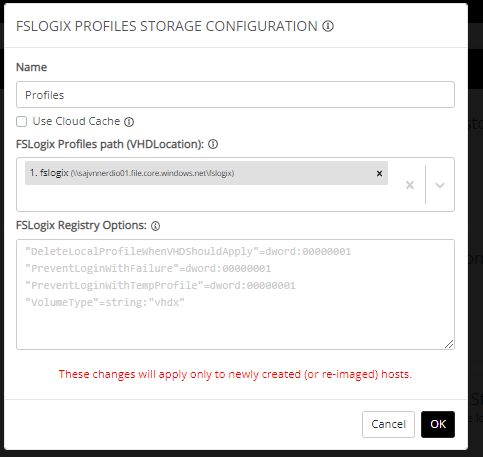
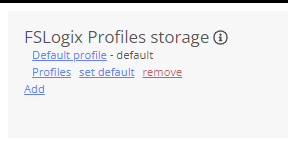
After this step you have the option to put this storage as default.
Create a master image
The step of creating a master image is optional since you can use one of the image from the marketplace. You need to specify the name of the image and the Azure Image and VM size. You have the option to create an Azure Compute Gallery and distribute the image across all the regions you want.
Click on Desktop Images in the left Blade and afterwards on Add From Azure Library.

The next screen will appear where you can enter the name of the image and also the vm sku.
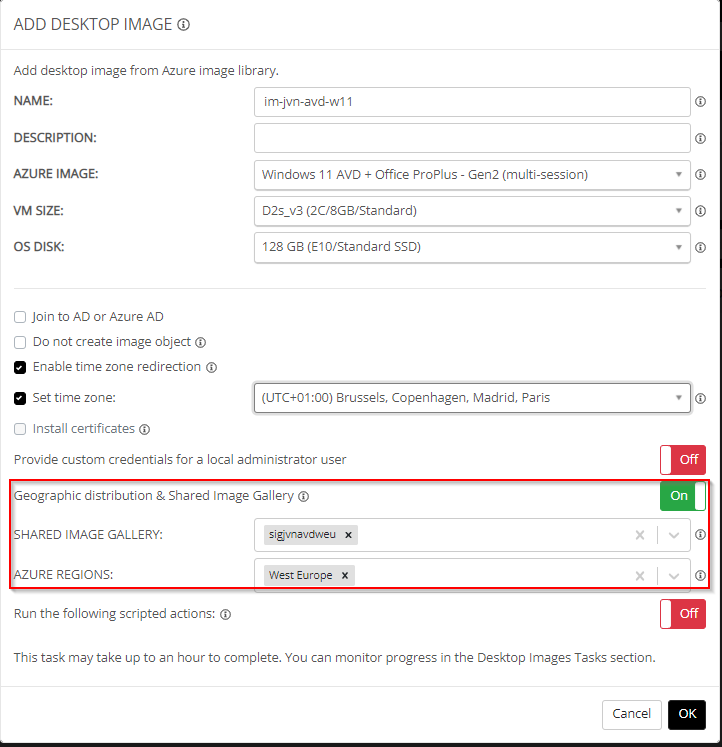

This process will take some time but you will be able to see the result when you check your image.

Create Hostpool
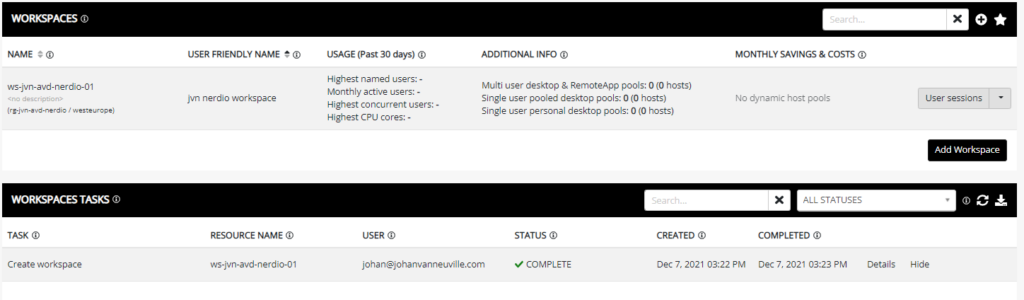
First thing you need to do it to create your first workspace. On the left blade click Workspaces and on the right add workspace

Fill in the name of the workspace and select the resource group and location

Now I want to create a Dynamic hostpool. Click on Workspaces in the left blade and select you workspace from the list


Now I’m ready to create a hostpool. I’m creating a multi user hostpool and joining the session hosts to my Active Directory domain.
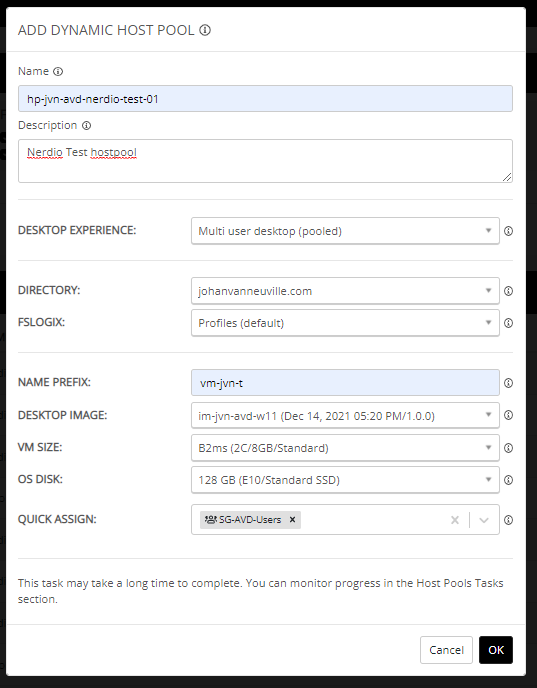
When you click OK you will get another screen asking you about the auto-scale mode.
In the next screen you can control the Autoscaling. For the time being I’ll leave this on the defaults. Don’t forget to change the Off to On on top.
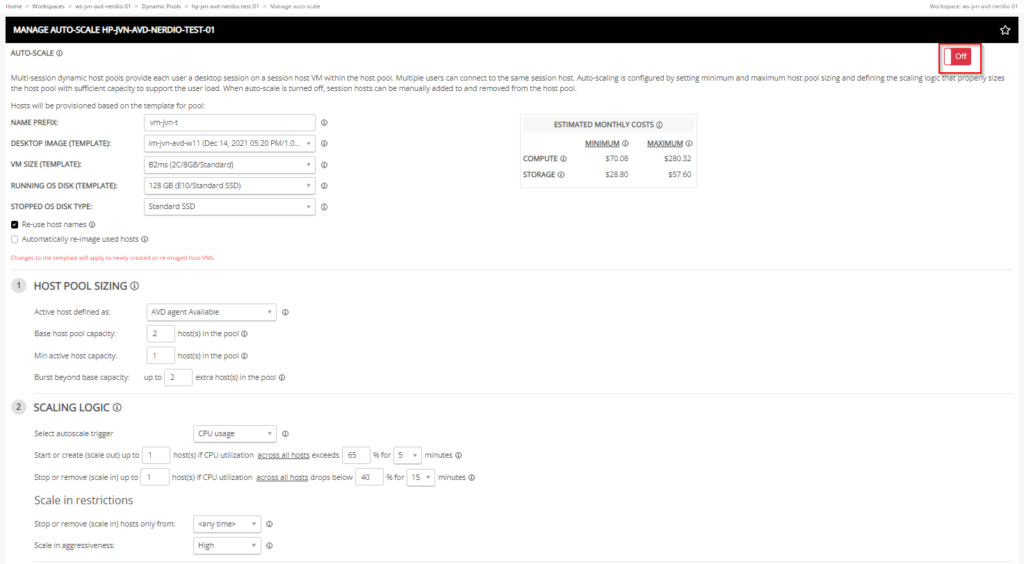
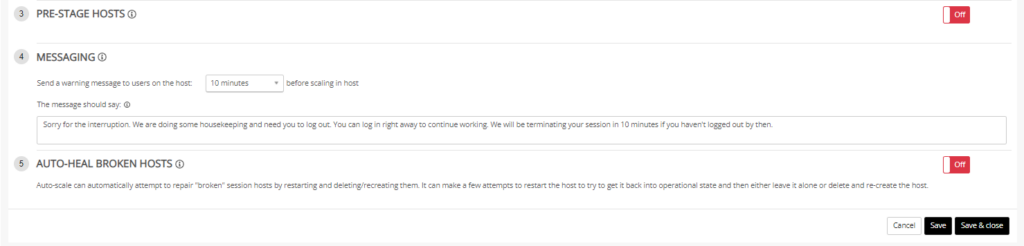
After this click save and close and wait for the magic to happen.
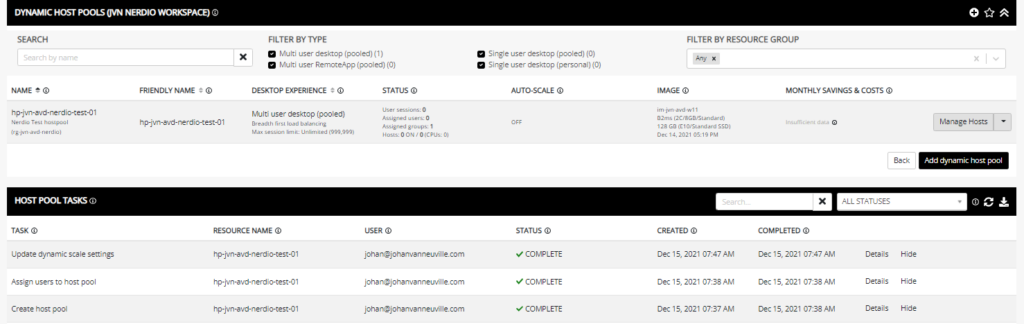
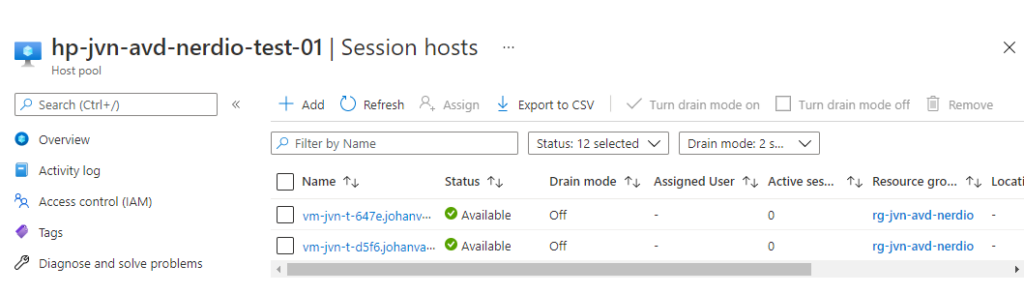
Because I took a base capacity of 2 hosts Nerdio will create 2 hosts. This process took about 20 minutes to complete.

Conclusion
After the creation of our hostpool and 2 hosts we can start using the service. After working with the solution I can only recommend it to everybody. It’s easy to use and you don’t need to know how to script.