Welcome in this 2nd part of this Harden Nerdio Manager for Enterprise blog series. In this blog series I take a look at the security of the Nerdio Manager for Enterprise. In the previous I looked at the App Service. In case you missed that post you can read it here. In part 2 I’m going to focus on the SQL server.
There are 2 options to restrict the traffic on the SQL server.
- restrict the access to the SQL database to the App Service Outbound ip’s
- Use private endpoints and Vnet Integration
Restrict the access to the SQL database to the App Service Outbound ip’s
The first option we will look at is to restrict the access to the SQL database to the outbound IP’s of the App Service. To do this you first need to know the ip addresses. You can do this with a PowerShell command.

Be aware that an App Service is running on shared infra. Other App Services on the same cluster share the same outbound ip’s.
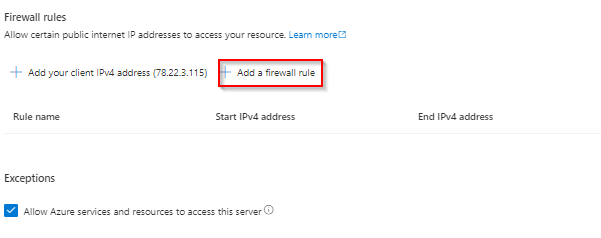
Now that we have the outbound ip’s we can configure the SQL server firewall with these addresses. You need to enter a firewall rule for each ip address.
Vnet integration and private endpoints
For the companies that want extra security for the SQL server there is the option to use Vnet Integration on the App Service and a private endpoint. with Vnet Integration you can make sure that all outbound traffic goes through the vnet.
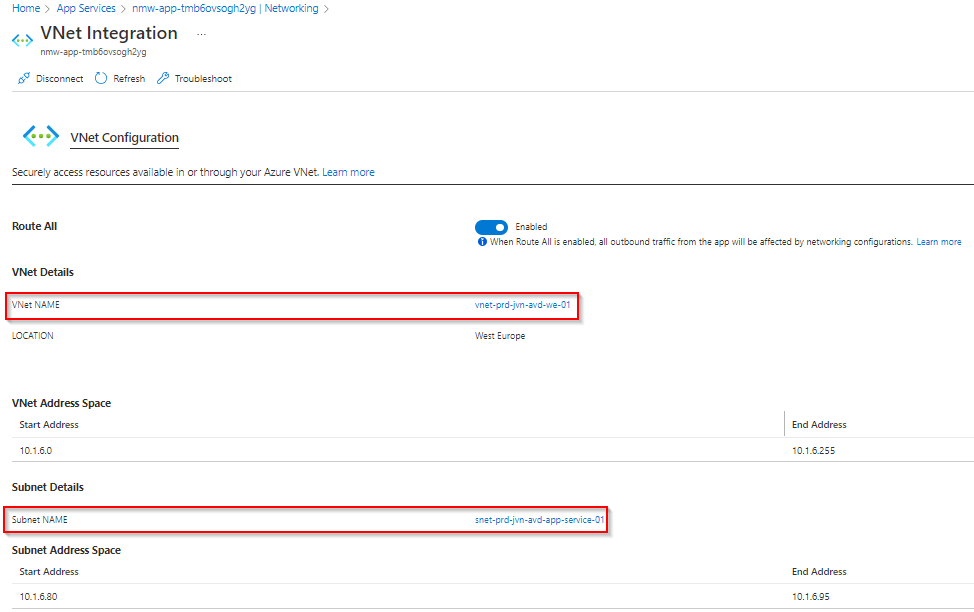
The first step that you need to do for Vnet Integration is to create an additional subnet in your vnet. I’ve created a /28 (You can also create a /29 subnet) subnet called snet-prd-jvn-avd-app-service-01. The subnet can’t be used for anything else.
To enable vnet integration go to your App Service > Networking and select Vnet Integration on the right.
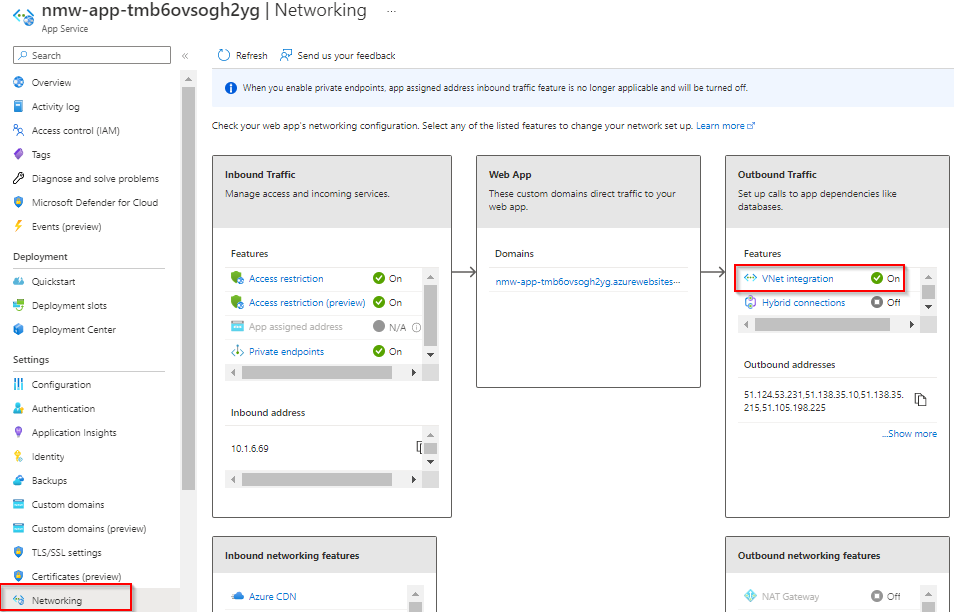
Click on Add Vnet and select the correct subnet you have created for this.

When done you will see this in the portal.
Next, we need to create a private endpoint. You can do this from the SQL server blade and go to Networking. I’ll show you the other method using Private Link Center.
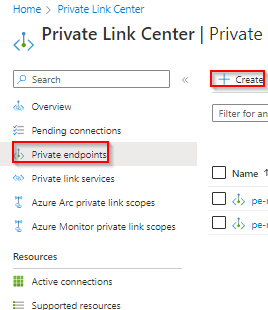
To create a private endpoint, go to Private Link Center and choose Private Endpoints and choose Create
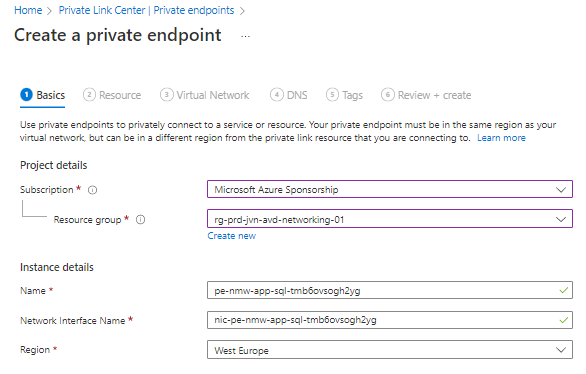
In the next screen select your subscription and resource group and give the endpoint a name.
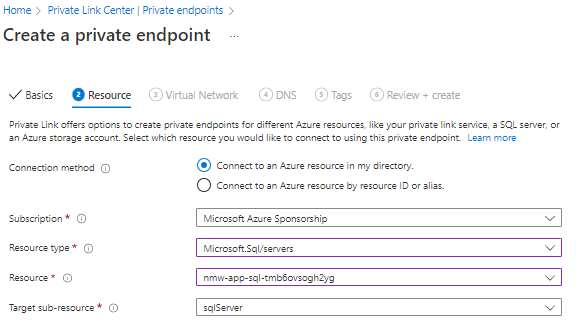
Next we need to select the correct resource, in this case the SQL server.
Now we choose the correct virtual network we want to connect with. I put the private endpoint in a privatelink subnet. When creating this subnet think about how may private endpoint you will need so you can pick the correct size.

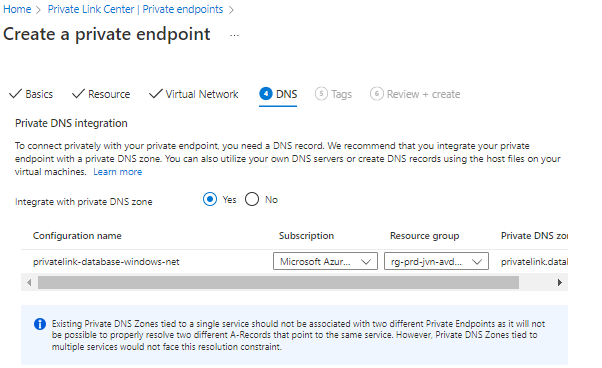
The last part is DNS. You can choose integrate the private endpoint with a private DNS zone. If you pick no you have to make sure you create this zone on your own domain controller and make sure that resolving works.
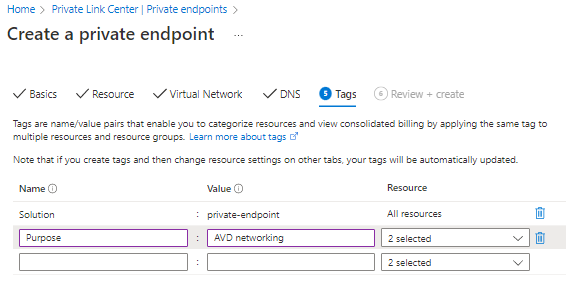
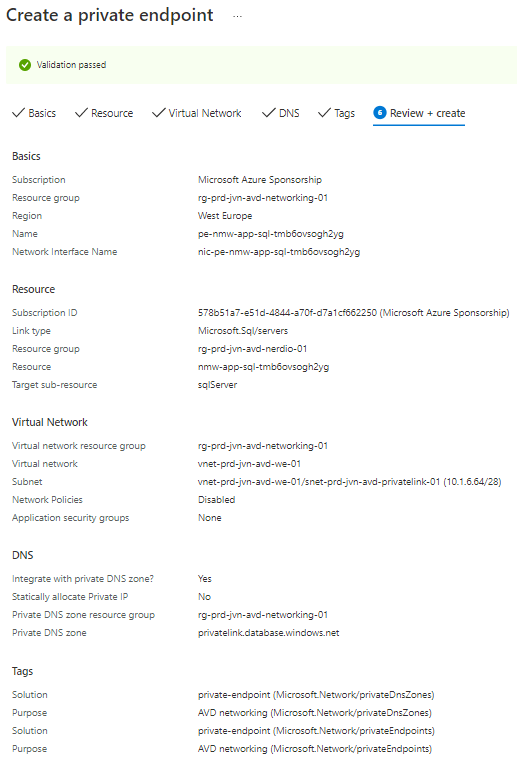
The final steps are the tags.
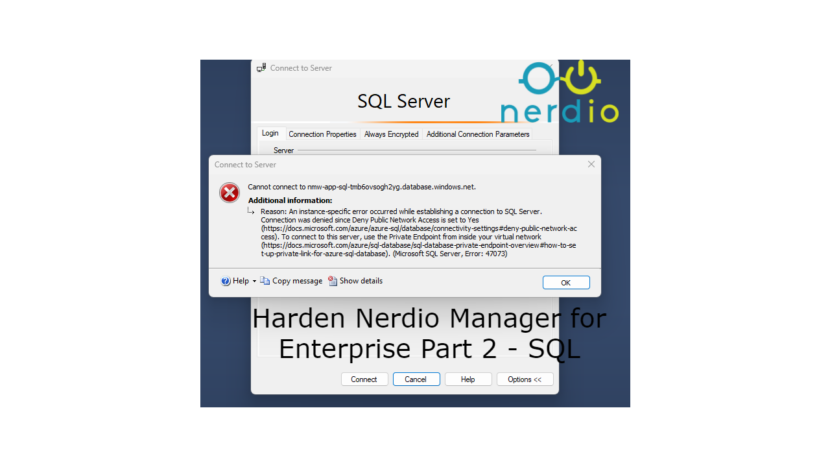
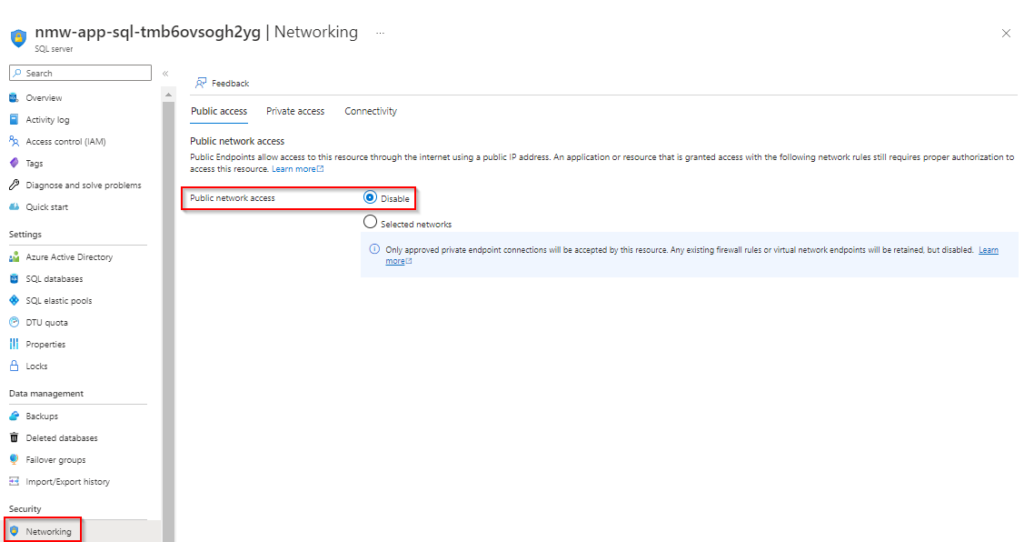
Important if you want to make sure that you can’t connect to the SQL database from ooutside the virtual network that you disable public access.
If done correct and you try to connect from your own pc connected with the internet using SSMS you get the following message.

One thing I did notice after configuring private access like this that refresh or reloading the screen takes a little more time.
This concludes part 2 of this Harden Nerdio Manager for Enterprise series. If you have any questions about this, feel free to contact me.
2 thoughts on “Harden Nerdio Manager for Enterprise Part 2 – SQL”