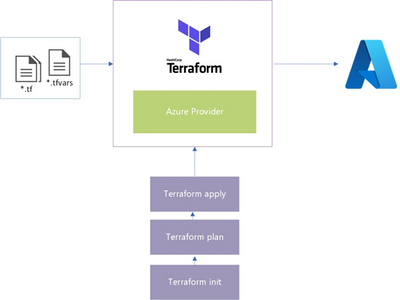
Hello and welcome to part 2 of my AVD and Terraform deployment guide. In part 2 I’ll deploy the different AVD modules using a release pipeline.
In this part I will use the assistant to create the pipeline. Al the code is in my DevOps.
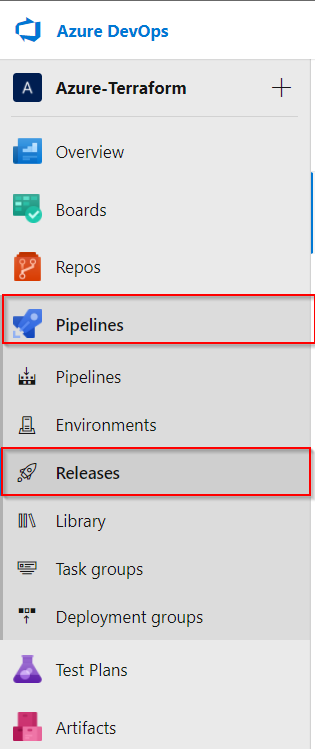
To create a release pipeline click on Pipelines and Releases in the left blade.
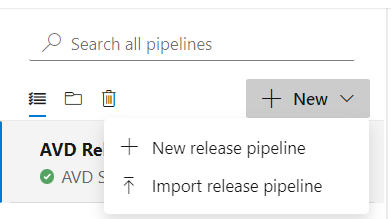
Click the down arrow and select New Release Pipeline
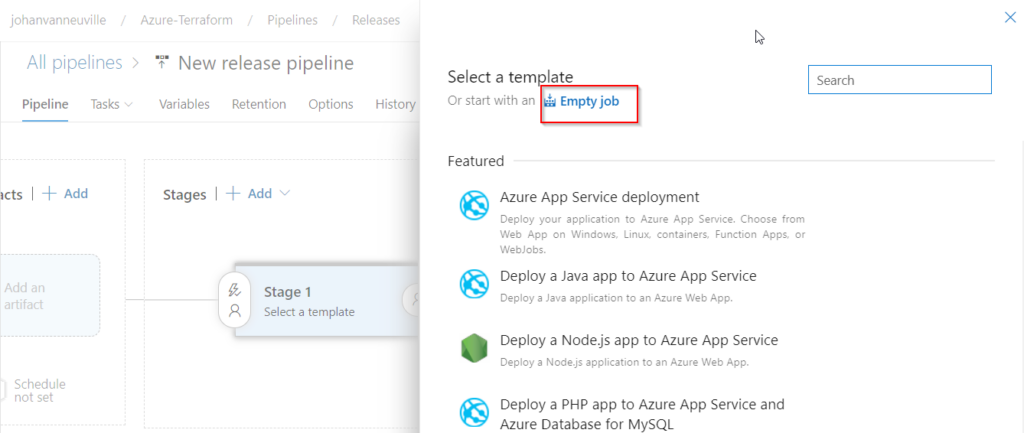
In the next screen I select to start with an Empty Job
My first step is to Add an Artifact
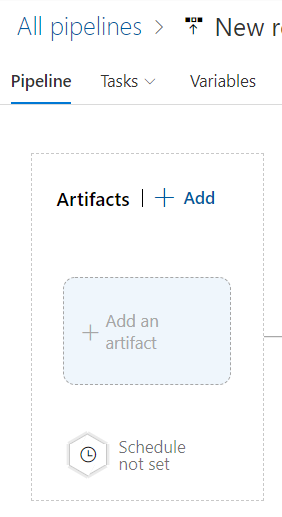
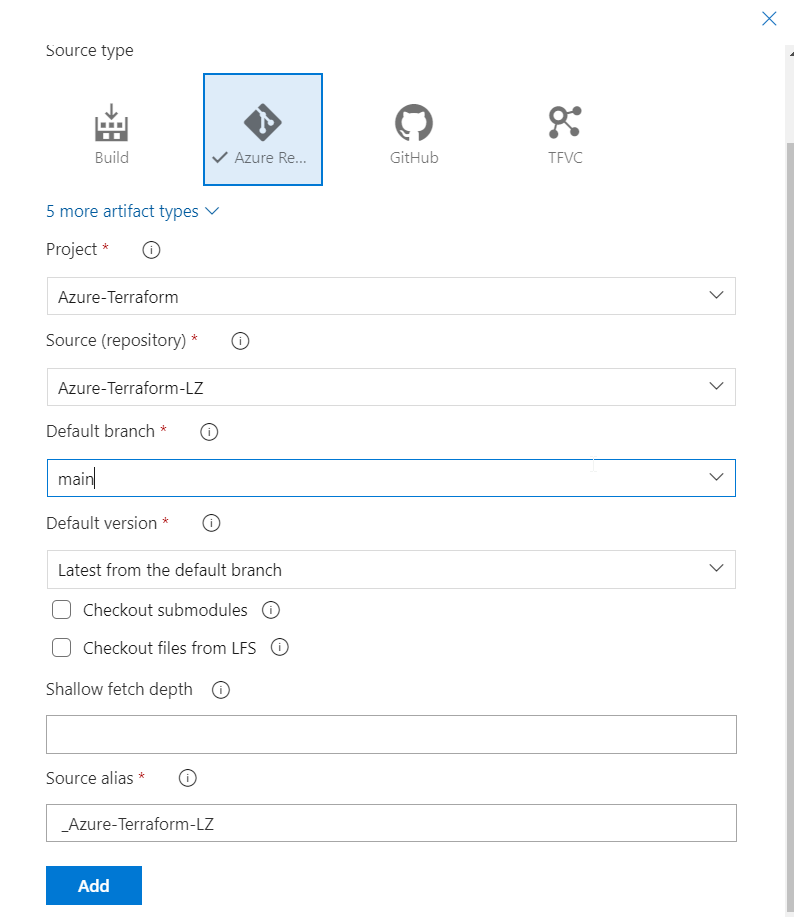
I select The source type (in my case Azure DevOps repo) and select the Source repository and default Branch and click on Add
Now that we have our Artifact, it’s time to add the stages for the AVD deployment.
I need to create 3 Stages:
- AVD Hostpool
- AVD Storage
- AVD Shared Image Gallery
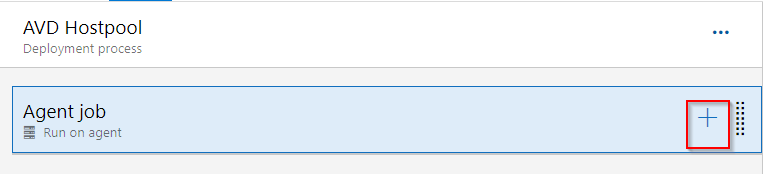
First I’m going to rename the first Stage to AVD Hostpool

After this I’m gonna add some tasks by clicking on the + icon
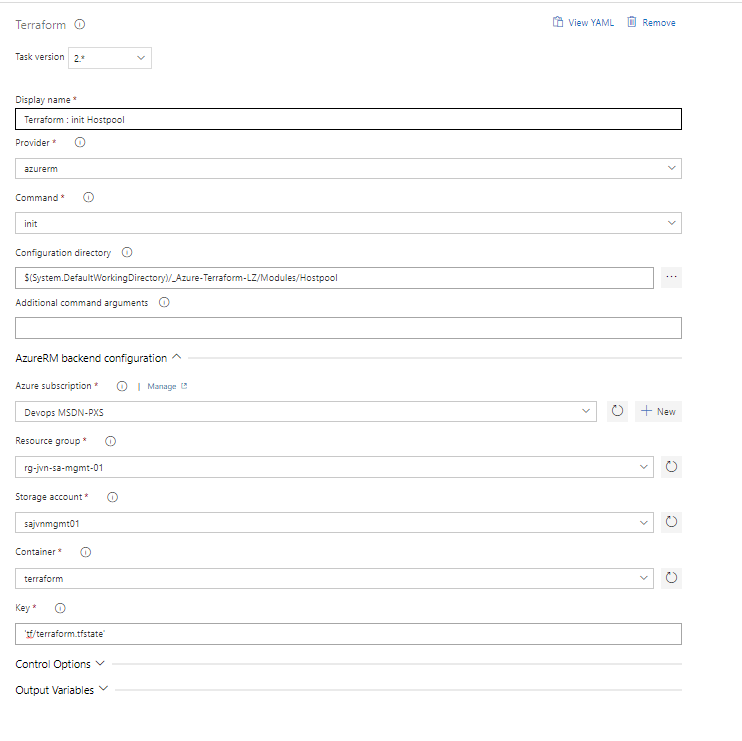
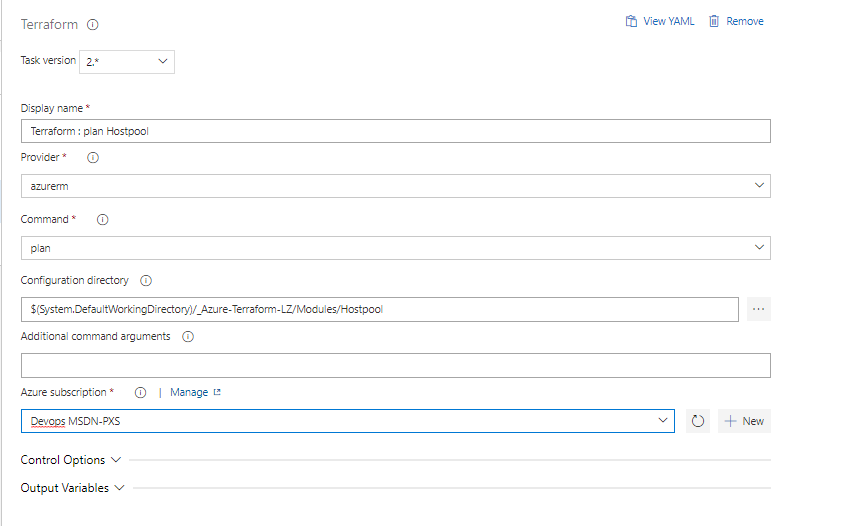
First we need Terraform installed and also 3 times Terraform
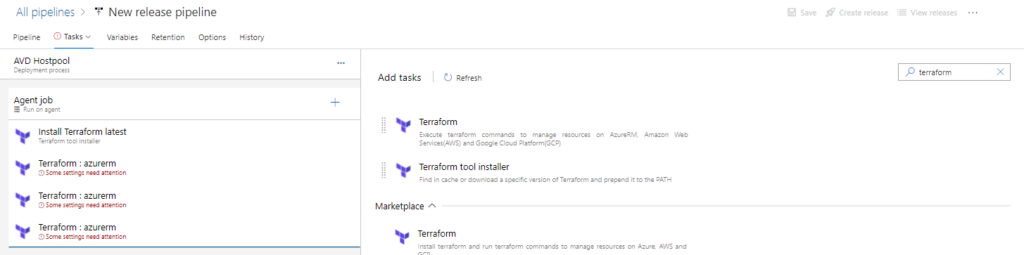
The 3 times Terraform is for Terraform Init, Terraform Plan and Terraform Apply.
Terraform init
Terraform Plan
Terraform Apply

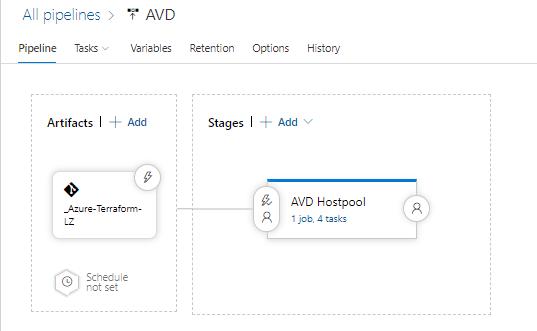
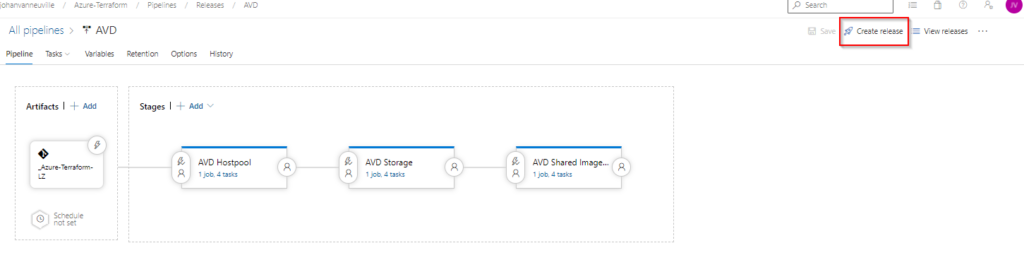
Now the release pipeline looks like this.
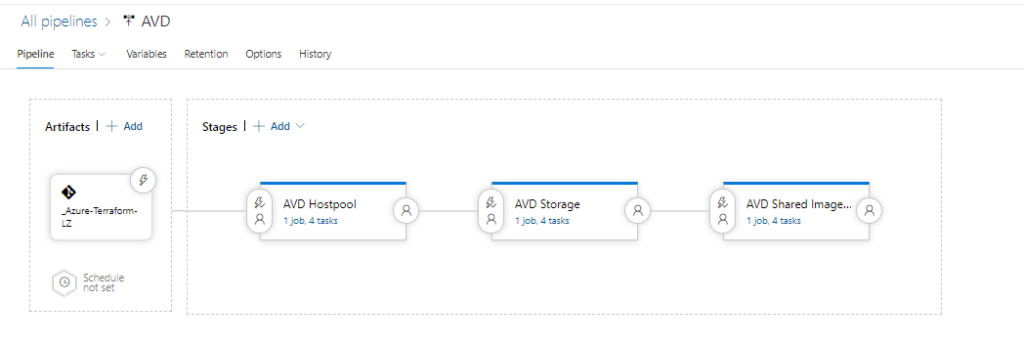
After these steps for the Hostpool are done, I’m gonna repeat them for the storage and for the Shared Image Gallery.
Running the pipeline
Now that it is creating let’s test it. Click on Create release and confirm with selecting Create

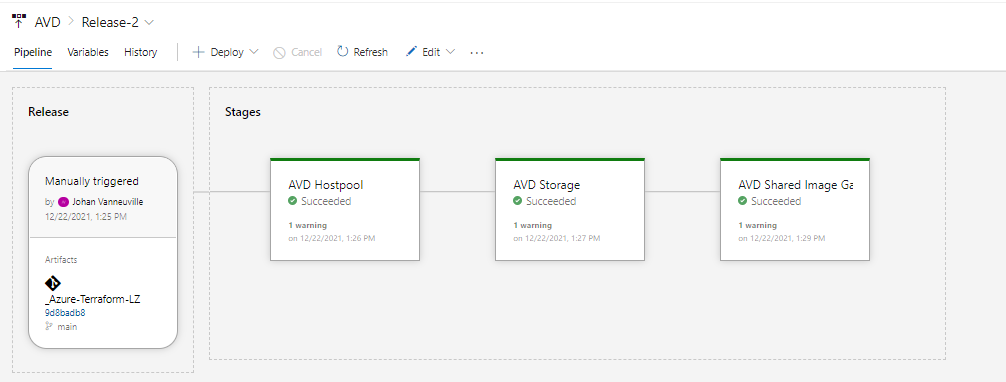
The result after the pipeline has finished
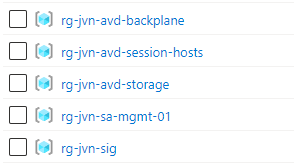
The result in the Azure portal. 4 resource groups have been created with all the components in there.
When creating the pipeline like this I can very easy disable the storage step for example if I only need an extra hostpool.
I hope with reading this blogpost you learned something new about deploying AVD and side components using a release pipeline.