Hi all,
Have you ever wanted to check out how AVD works but don’t have the knowledge yet about all the different components? Microsoft has simplified the deployment of AVD and has created a new version of the Getting started feature from a couple of years ago. Let’s see what this new version is and how it works.
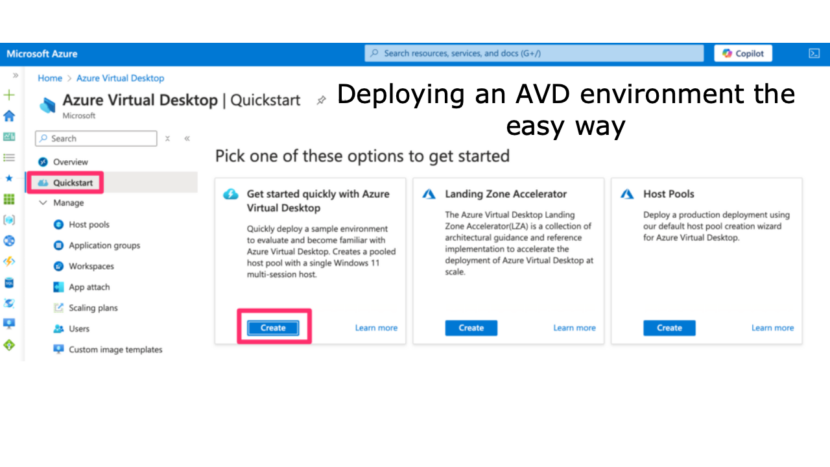
First of all, you got 2 ways of finding this feature. You can search for Quickstart in the global search bar or you can go to the AVD portal and select Quickstart.

In the next window, the IT admin has to select the correct subscription, region and give the credentials for the local administrator. The optional parameter is to select 2 users that will be assigned to the application group.

When going to the Review+Create page we can see which version of OS and virtual machine size that will this Quickstart feature is using.

Now let’s press the Create button and let the magic happen and see what resources are being deployed.
When the deployment is done, we get 1 resource group with a hand full of resources.

When taking a closer look at the resources, we can see that the 2 selected users are assigned to the application group.

The session that has been created is Entra ID joined.

When we logon to the Windows App with one of the assigned users, we can see the newly created desktop.

To conclude this blog post, this feature is really nice especially for people who are nog yet familiar with the AVD service and Azure. It’s an easy way to discover to functionality of AVD in a Proof of Concept fase.
thank you for reading this blog post and feel free to contact me in case you have any questions.
Until next time!