
Hi there,
Naming convention is a big part of a company journey to the cloud. It’s important to structure an environment and it makes supporting it much easier.
Since the beginning of Nerdio, during the deployment from the marketplace, the Nerdio resources had default names. This caused issue for a lot of companies that enforce specific naming conventions through Azure policy. They had to creating exemptions for this.
Recently the deployment of Nerdio changed and a custom naming convention became available. In this blog post I’ll guide you through the new experience. For reference, this is the first blog I created on this topic. https://johanvanneuville.com/avd/manage-azure-virtual-desktop-with-nerdio-initial-setup/
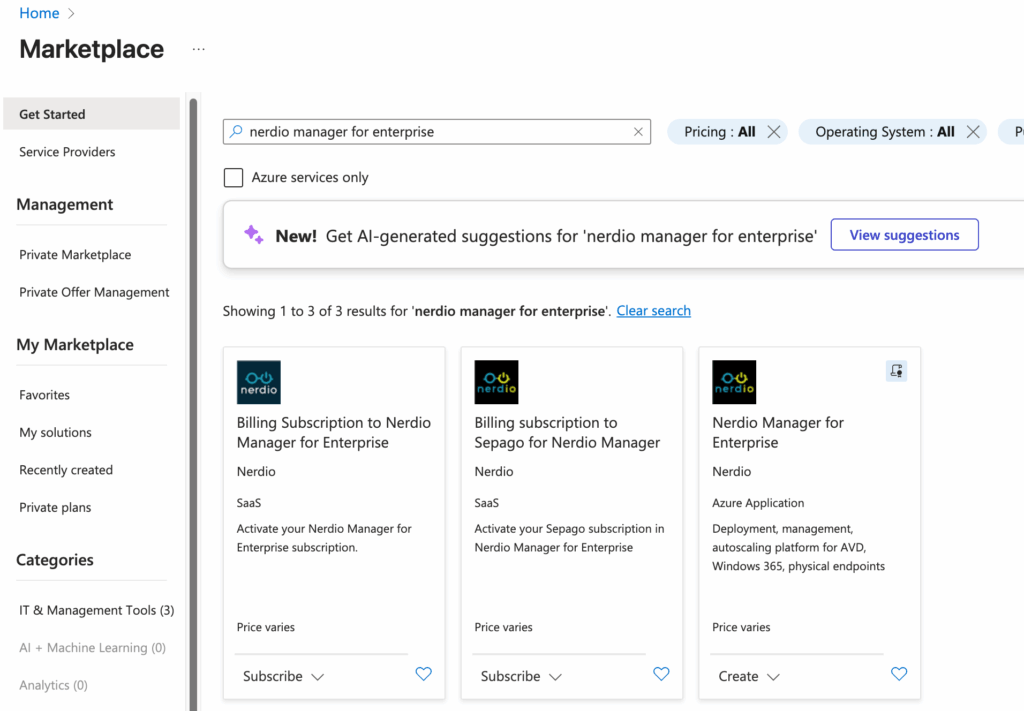
The first step is the same as always as the deployment still starts in the Azure Marketplace.
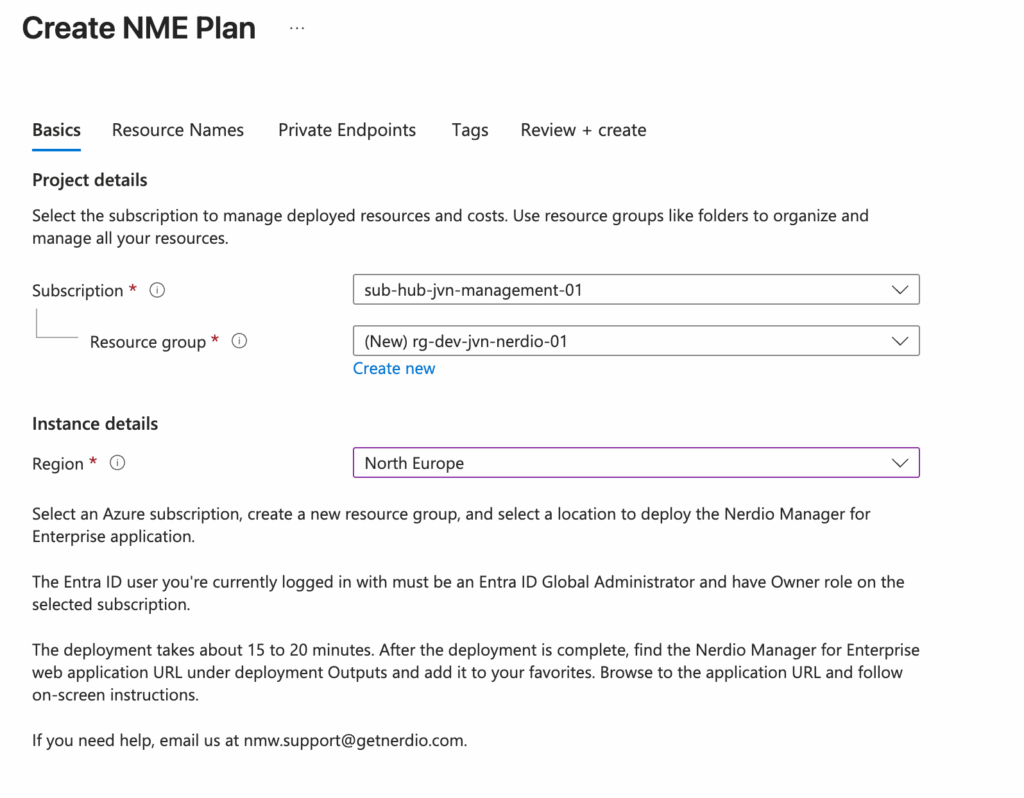
We have to choose the subscription and an existing resource group or create a new one.
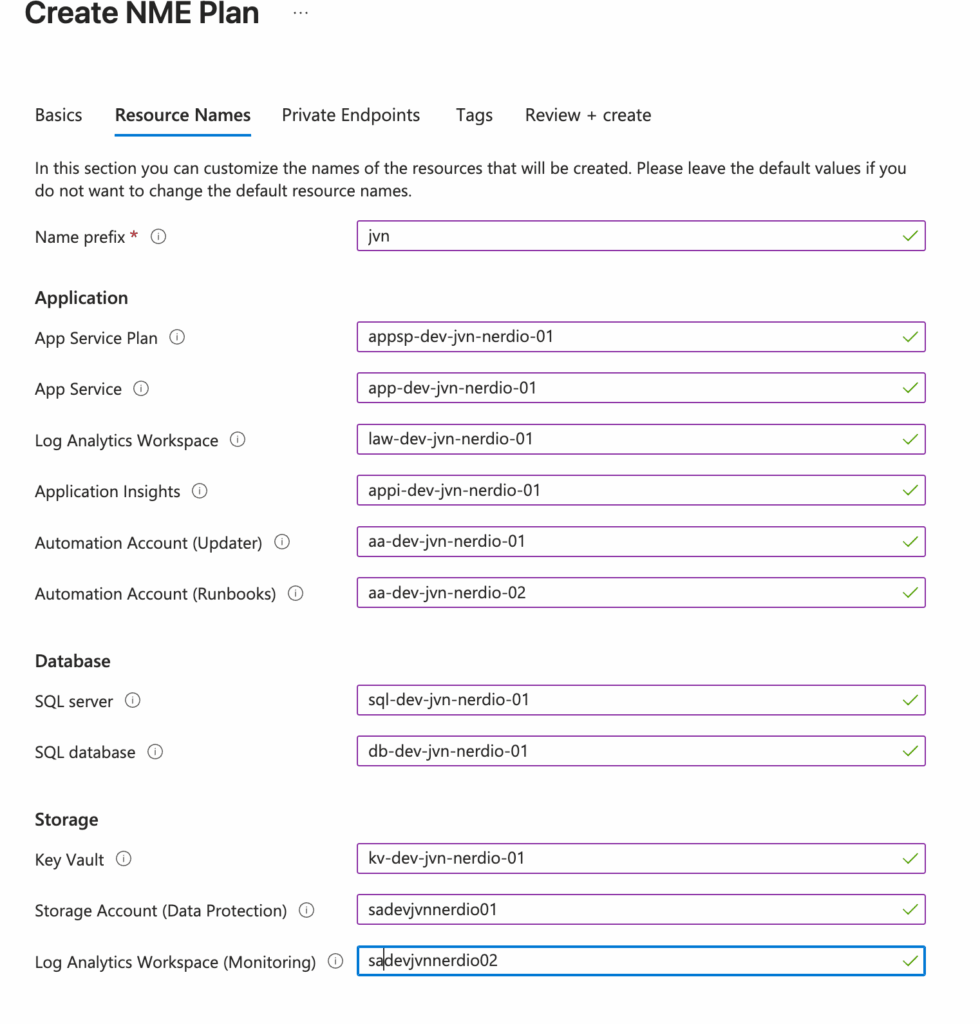
The second tab is the one that is changed the most. Here we now get to choose a name prefix but also custom names for Nerdio resources.
The tags can now also be custom added.

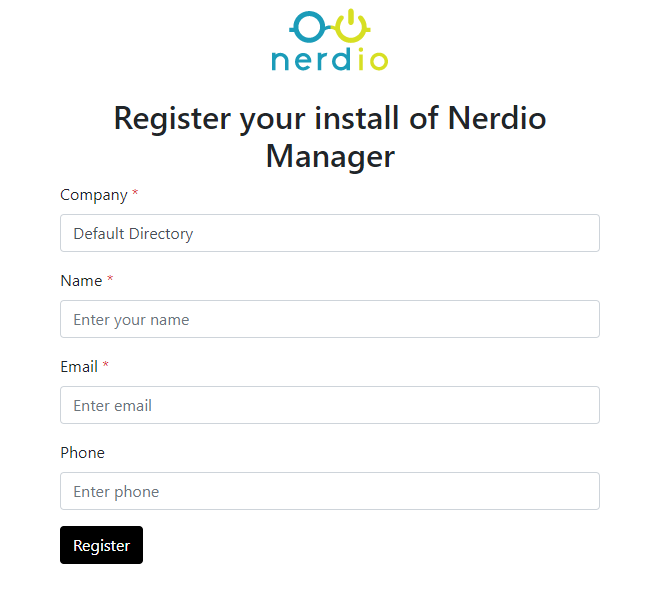
After the deployment, the rest of the process is the same. It’s starts with registering Nerdio.
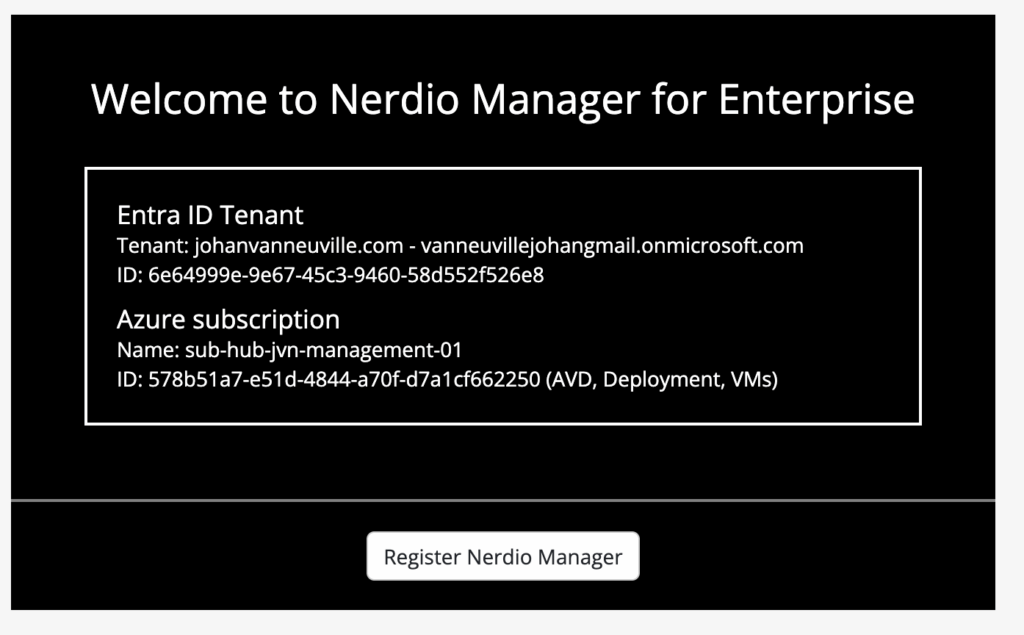
For the registration you need to enter the below details.
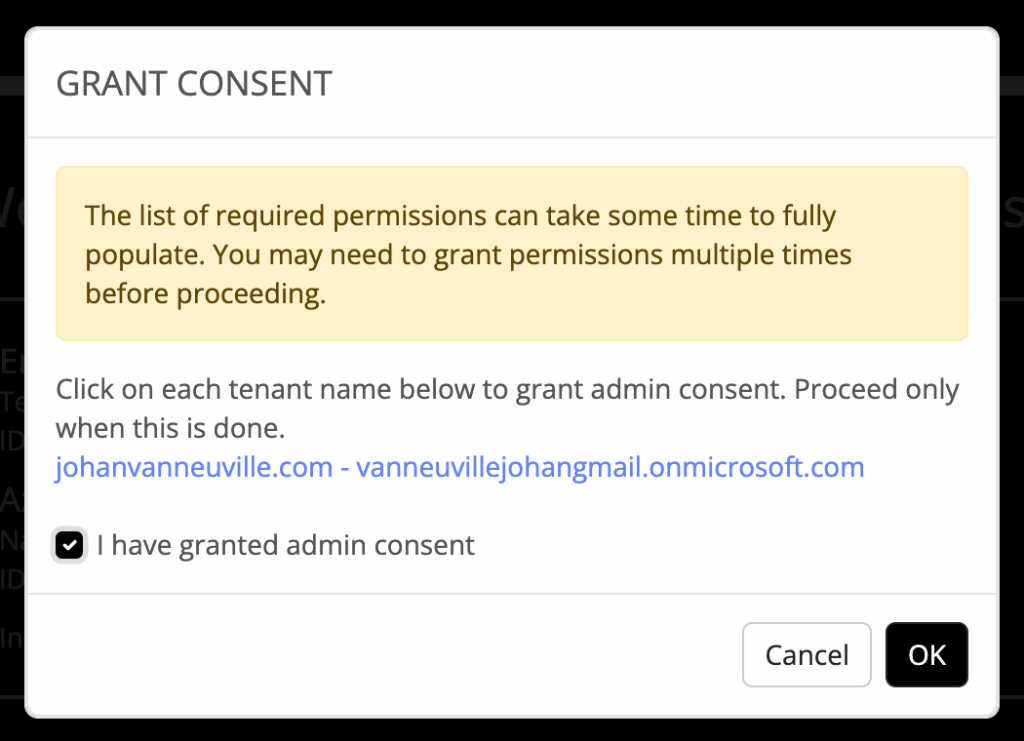
After the registration , the IT admin needs to give the admin consent.
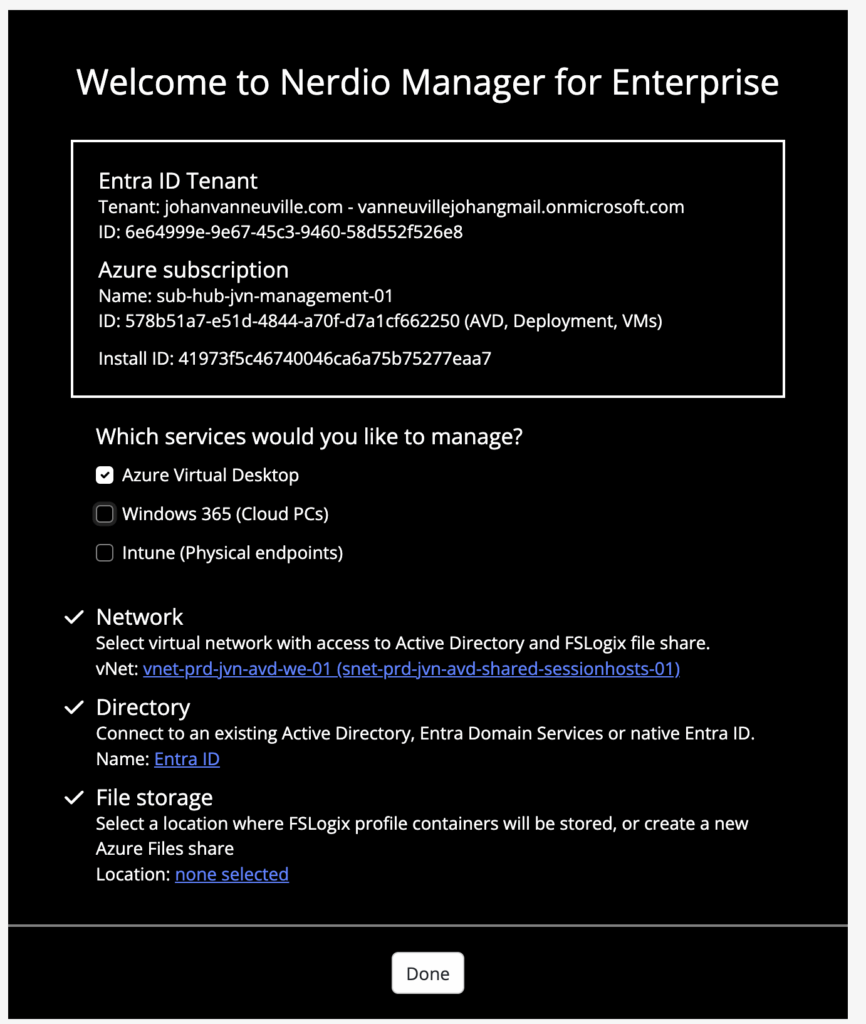
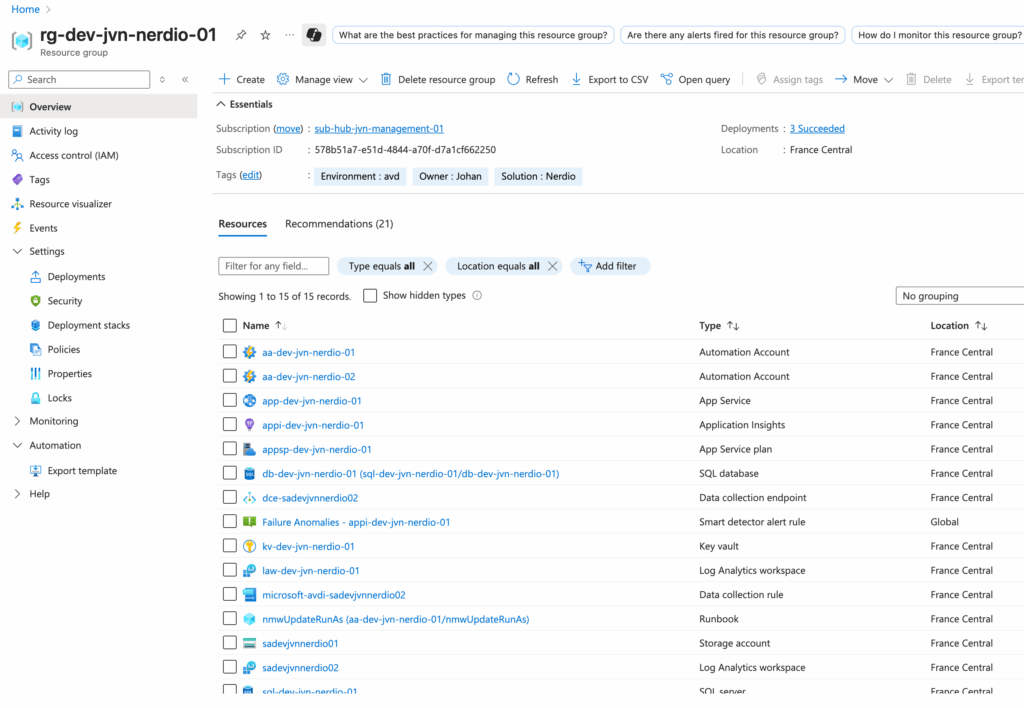
When the deployment and registration is done, we can access the Nerdio portal as usual. The resources look like this in the Azure portal.
To conclude I think this change in deploying Nerdio is a big improvement especially governance wise for companies that want to use a strict naming convention.