Microsoft recently announced a new feature for the Azure Compute Gallery formerly known as the Shared image gallery.
In the past you could only put images in the gallery to use in different regions. With the latest feature you can also publish and share applications and in multiple regions. For more info about the Azure Compute Gallery check the docs’s page.
Now you can also publish VM Applications to use on your virtual machines. This is an extra option to separate your image and applications. This can also be used in combination with Azure Virtual Desktop.
There are some limitations to consider:
- No more than 3 replicas per region
- Retrying failed installations (remove application and try again)
- Only 5 applications per VM
- 1GB application size
- No guarantees on reboots in your script
- Requires a VM Agent
- Multiple versions of same application on the same VM (only 1 version of an app can be installed)
More info about the VM applications can be found on the doc’s page.
Prerequisites for VM Application
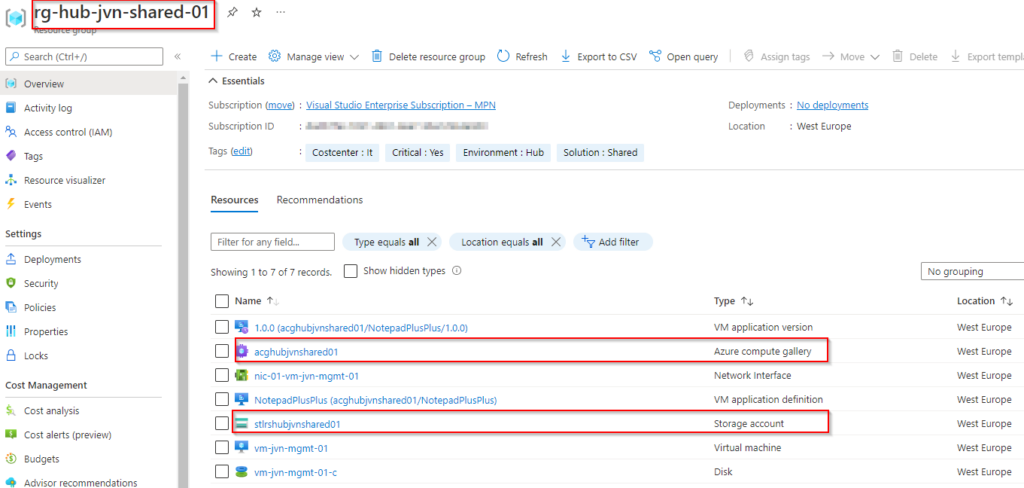
To start using the VM applications you need a couple of Azure Resources.
- Azure storage account to store the applications
- an Azure Compute Gallery

Publish an VM application
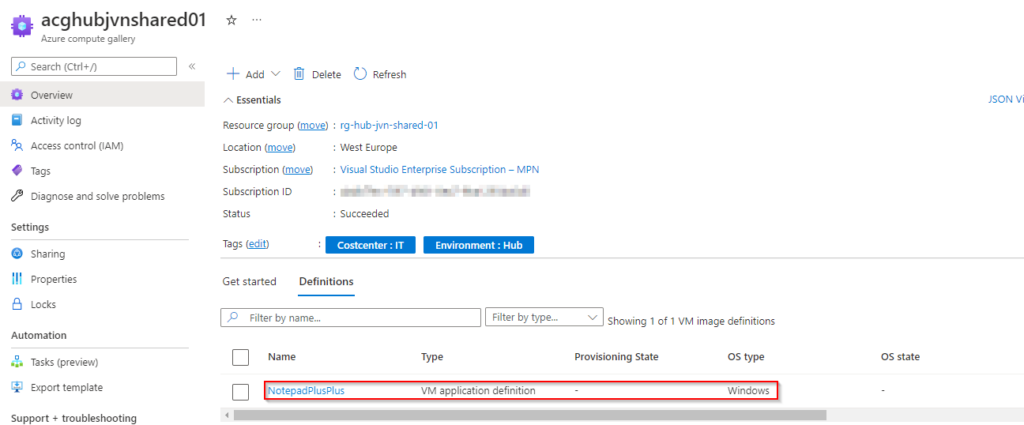
The first step is to create the VM Application in the Azure Compute Gallery.
You can do this through the Azure Portal but in this blog I’ll show you how to do it with Powershell.
For this blog post I’m using Notepad++ as an example to install on a shared management server.
Very important to do before you run the Powershell code is to run the command Connect-AzAccount and set the correct subscription if you have multiple subscriptions.
Create the Application
Below code is an example, change the variables to suit your own needs.
$galleryName = "acghubjvnshared01"
$rgName = "rg-hub-jvn-shared-01"
$applicationName = "NotepadPlusPlus"
$location = "westeurope"
New-AzGalleryApplication `
  -ResourceGroupName $rgName `
  -GalleryName $galleryName `
  -Location $location `
  -Name $applicationName `
  -SupportedOSType Windows `
  -Description "Notepad++."
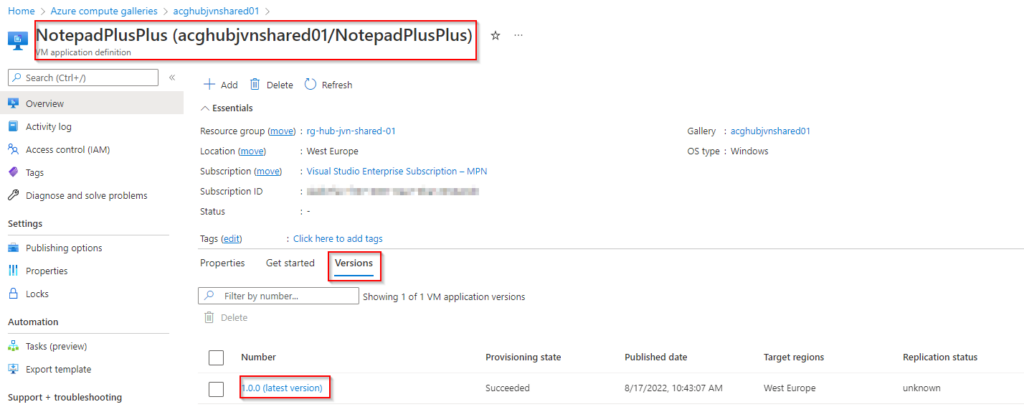
Create the Application version
In this step you add a version to the application. You need to enter the install and remove script. To be sure the script works you can try it out first on a virtual machine.
Below code is an example, change the variables to suit your own needs.
$galleryName = "acghubjvnshared01"
$rgName = "rg-hub-jvn-shared-01"
$applicationName = "NotepadPlusPlus"
$version = "1.0.0"
New-AzGalleryApplicationVersion `
   -ResourceGroupName $rgName `
   -GalleryName $galleryName `
   -GalleryApplicationName $applicationName `
   -Name $version `
   -PackageFileLink "https://stlrshubjvnshared01.blob.core.windows.net/applications/npp.8.4.4.Installer.x64.exe" `
   -Location $location `
   -Install "move .\\$applicationName .\\npp.8.4.4.Installer.x64.exe & npp.8.4.4.Installer.x64.exe msiexec /S" `
   -Remove "rm.\\$applicationName %ProgramFiles%\Notepad++\uninstall.exe /S"
Install the application
Now that we have an application and a version we can add the application to the vm.
$galleryName = "acghubjvnshared01"
$rgName = "rg-hub-jvn-shared-01"
$applicationName = "NotepadPlusPlus"
$version = "1.0.0"
$vmName = "vm-jvn-mgmt-01"
$vm = Get-AzVM -ResourceGroupName $rgname -Name $vmName
$appversion = Get-AzGalleryApplicationVersion `
   -GalleryApplicationName $applicationName `
   -GalleryName $galleryName `
   -Name $version `
   -ResourceGroupName $rgName
$packageid = $appversion.Id
$app = New-AzVmGalleryApplication -PackageReferenceId $packageid
Add-AzVmGalleryApplication -VM $vm -GalleryApplication $app
Update-AzVM -ResourceGroupName $rgName -VM $vm
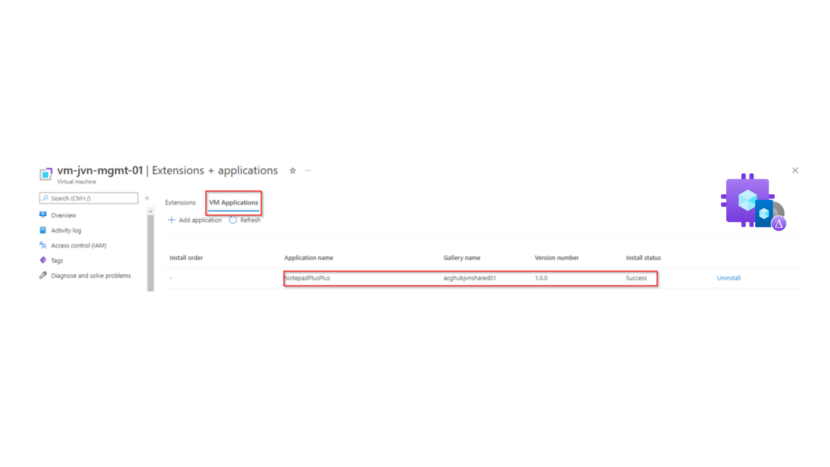
When the applications is installed you will see the below extension installed on the vm.

You can check the status of the application on the VM applications blade

If you want to install the applications you need to click on Uinstall and confirm with the save button.

This concludes this blog post around vm applications with the Azure Compute Gallery. In case you have any questions feel free to contact me on my socials.
